Journey
Journey simplifies API-based data workflows by letting you pull, transform, and push data across systems. It also handles scheduling, tracks API activity, and manages errors seamlessly.
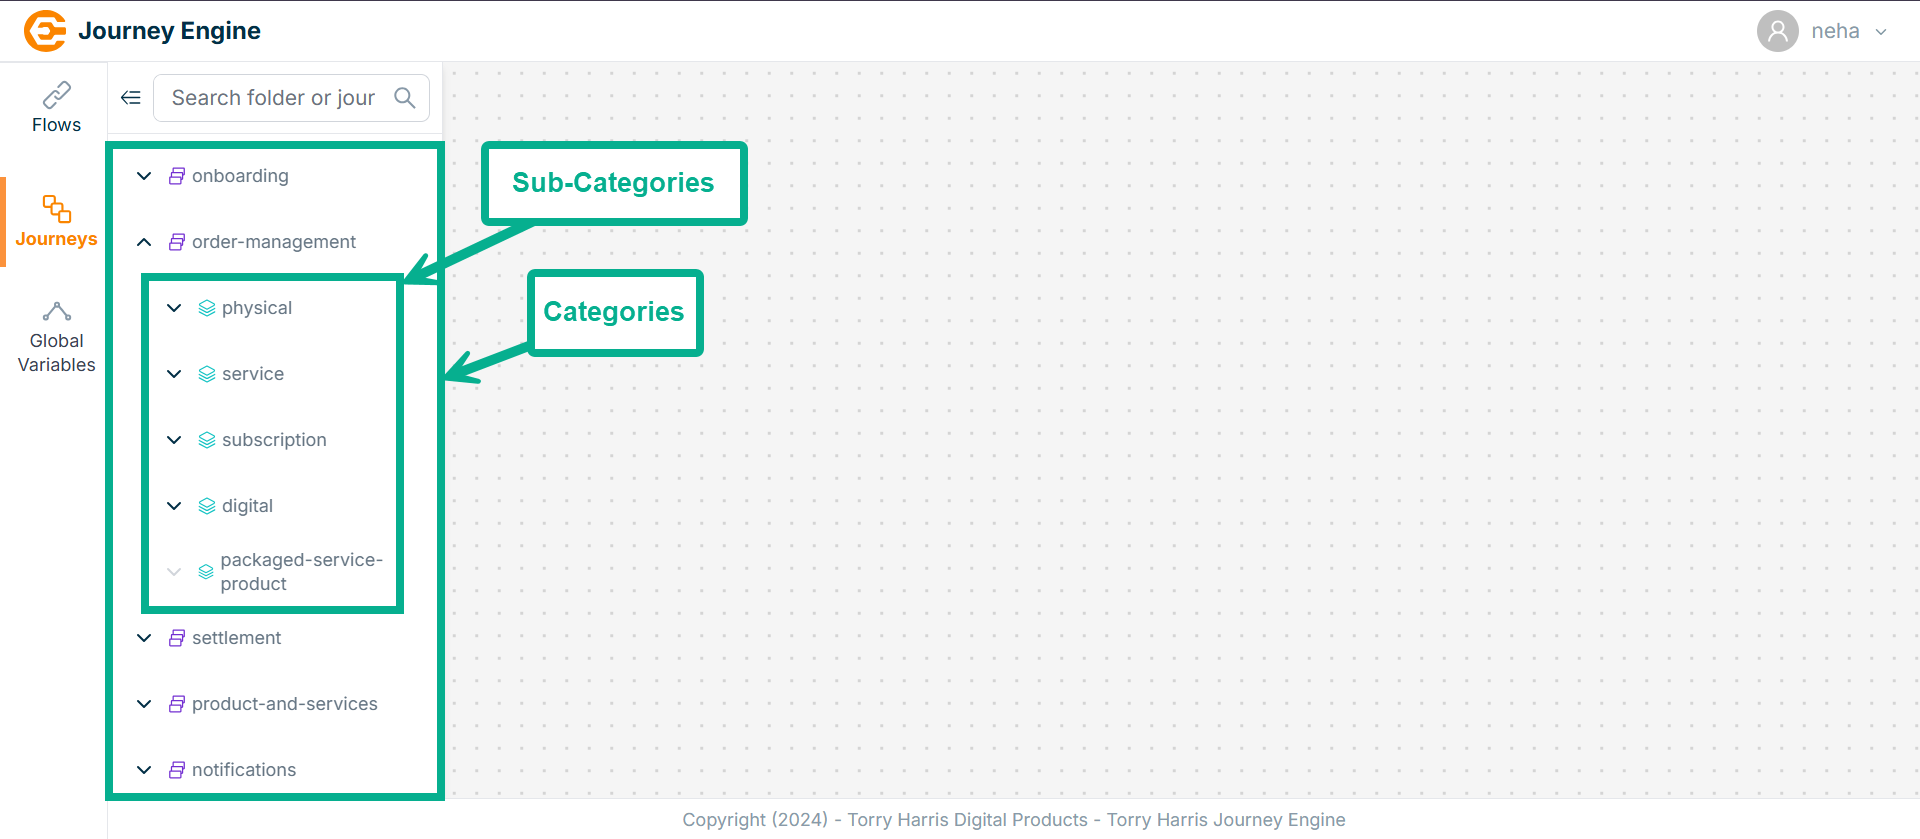
By default, Journey Engine presents a structured hierarchy of Categories (like order-management, settlement) and nested Sub-Categories (like physical, service, digital) to help organize different types of journeys efficiently.
Creating Folder
Folders can be created under both Categories and Sub-Categories.
-
Hover upon the Categories or Sub-Categories.
-
Click (+) icon.
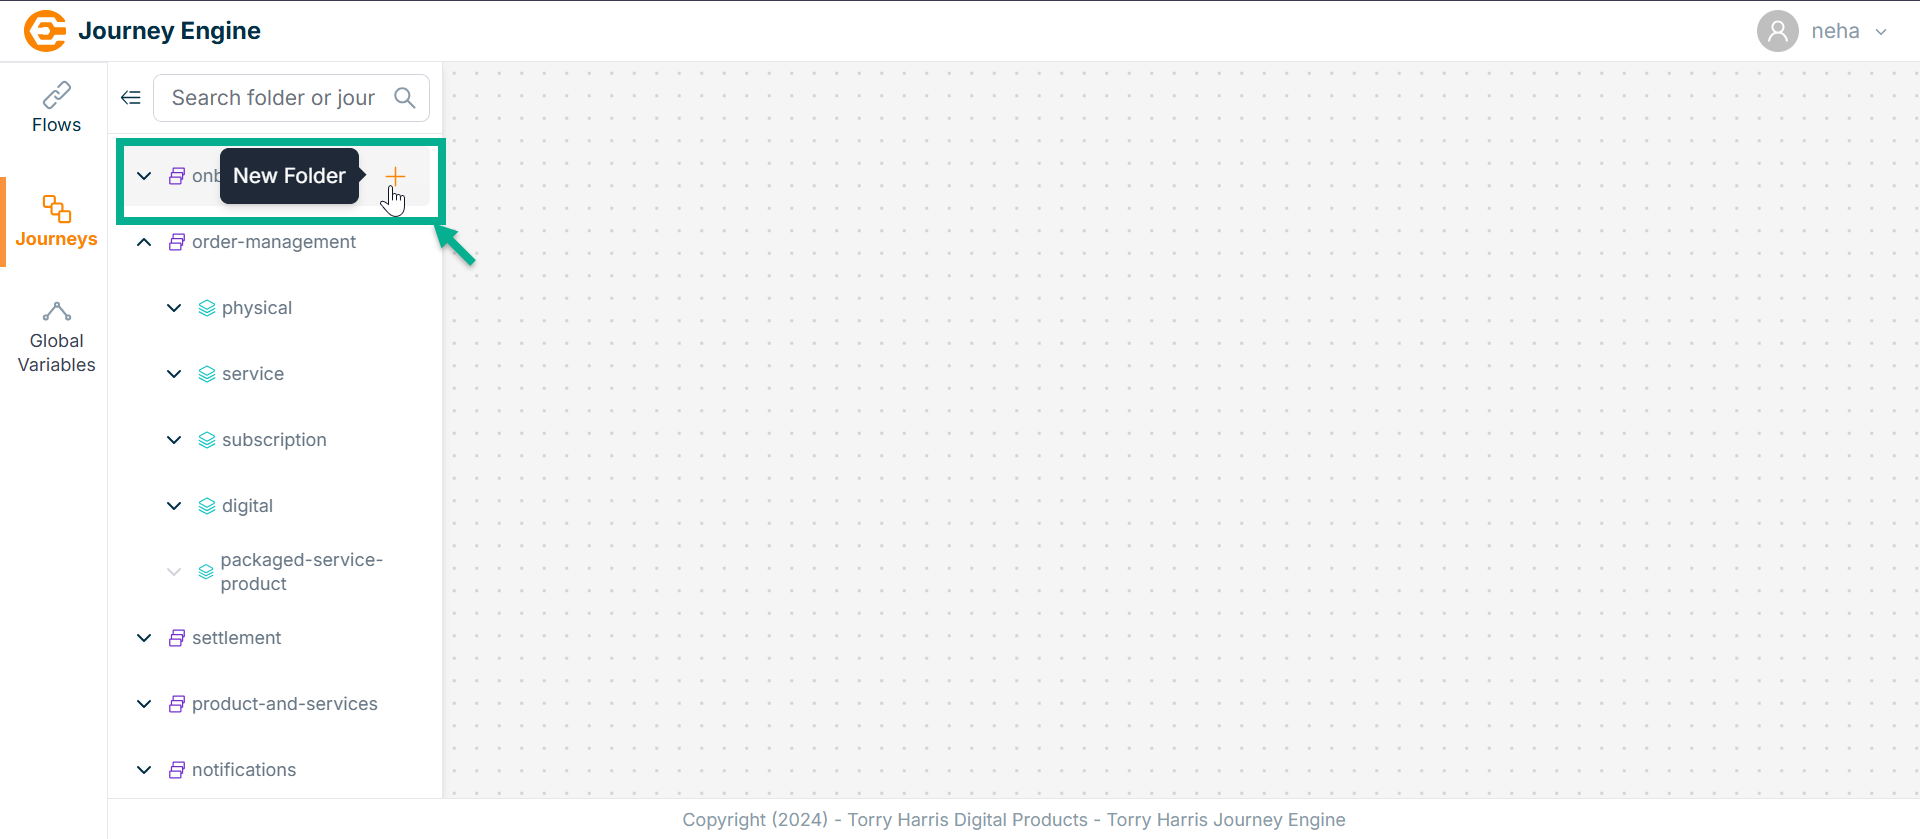
The New Folder dialogue box appears as shown below.

-
Enter Name and Description.
-
Click Create.
On creating, the confirmation message appears as shown below.

Updating Folder
- Hover upon the created Folder.
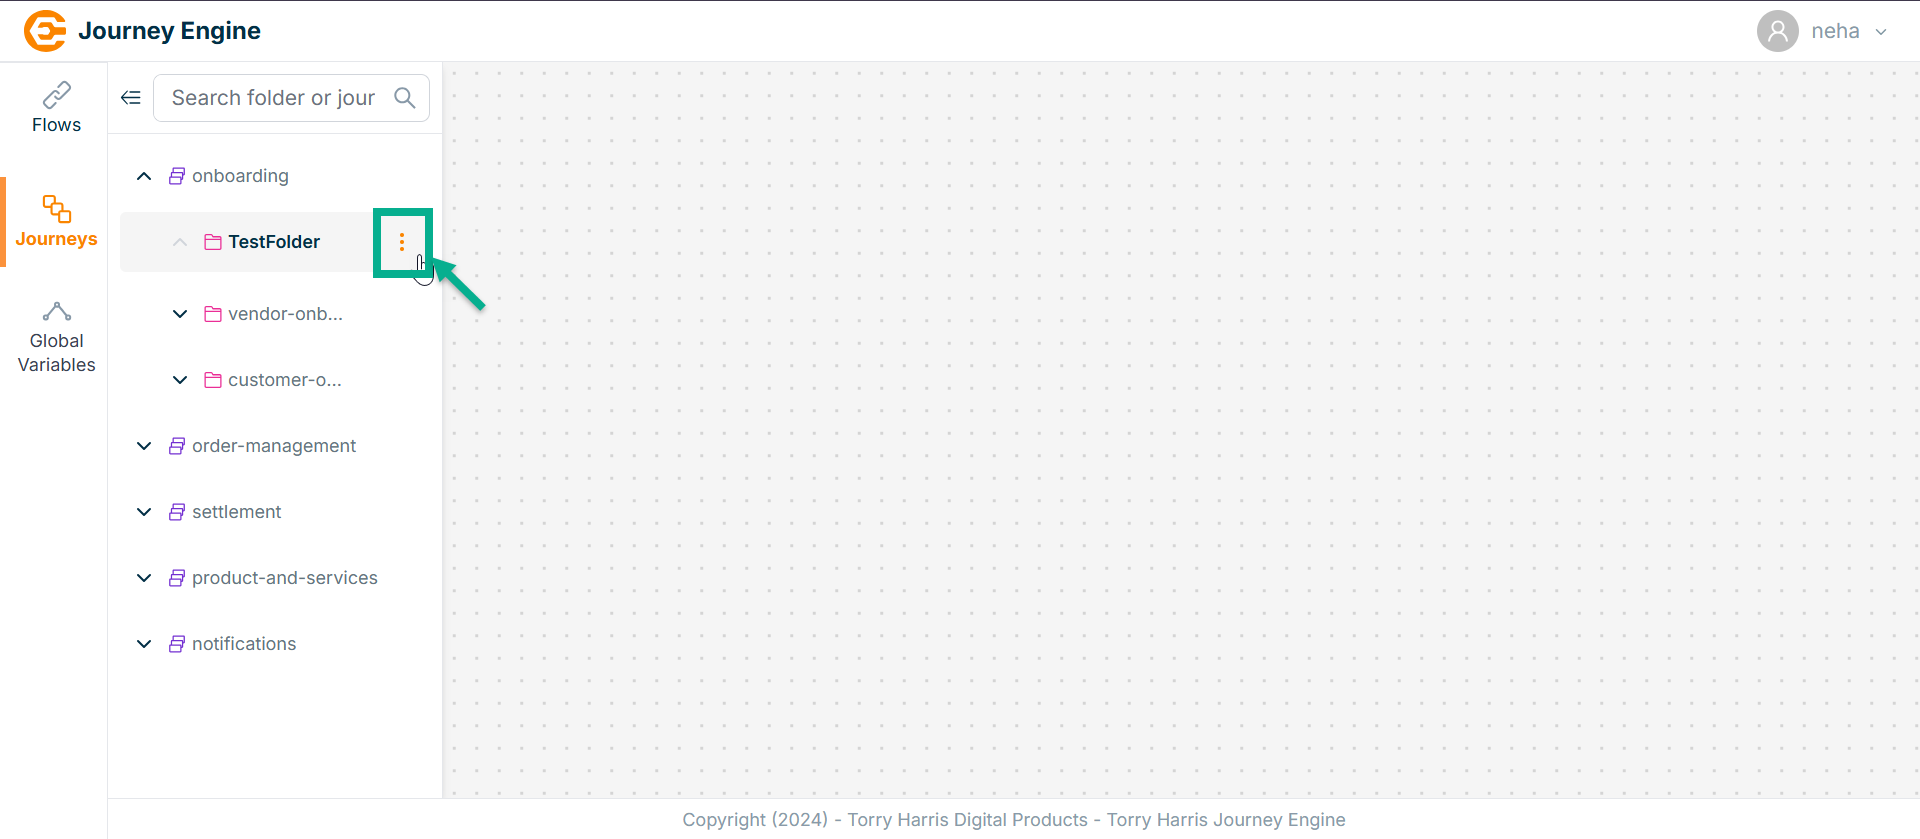
- Click on the Options icon.
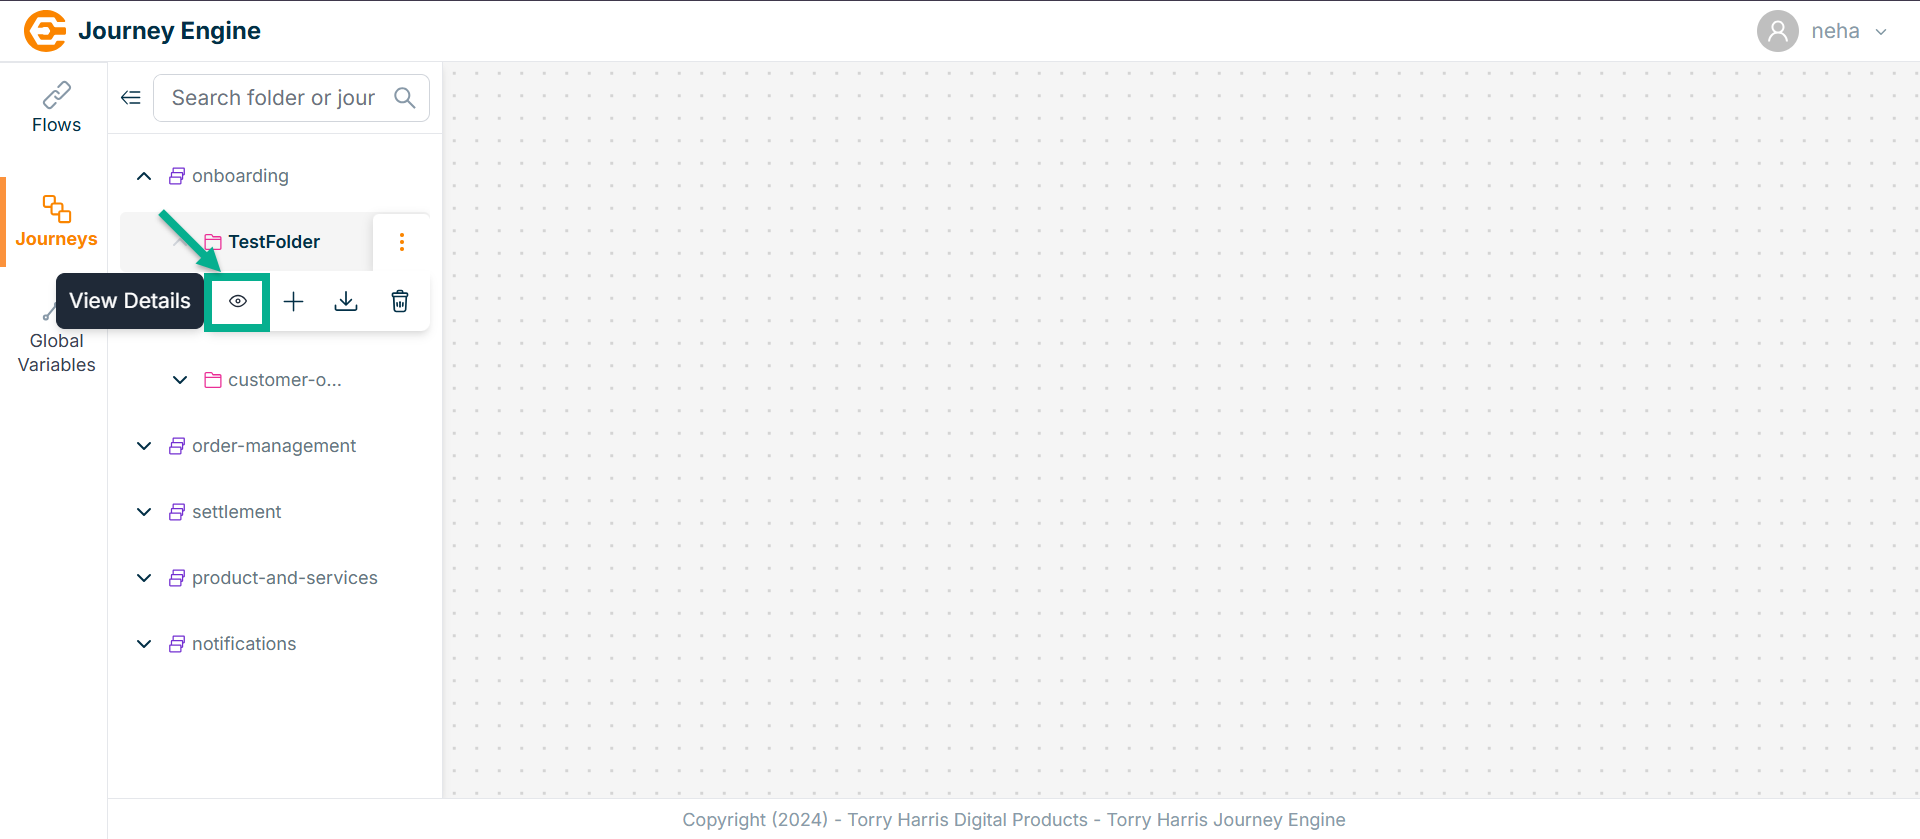
- Click on View Detials button.
The screen appears as shown below.
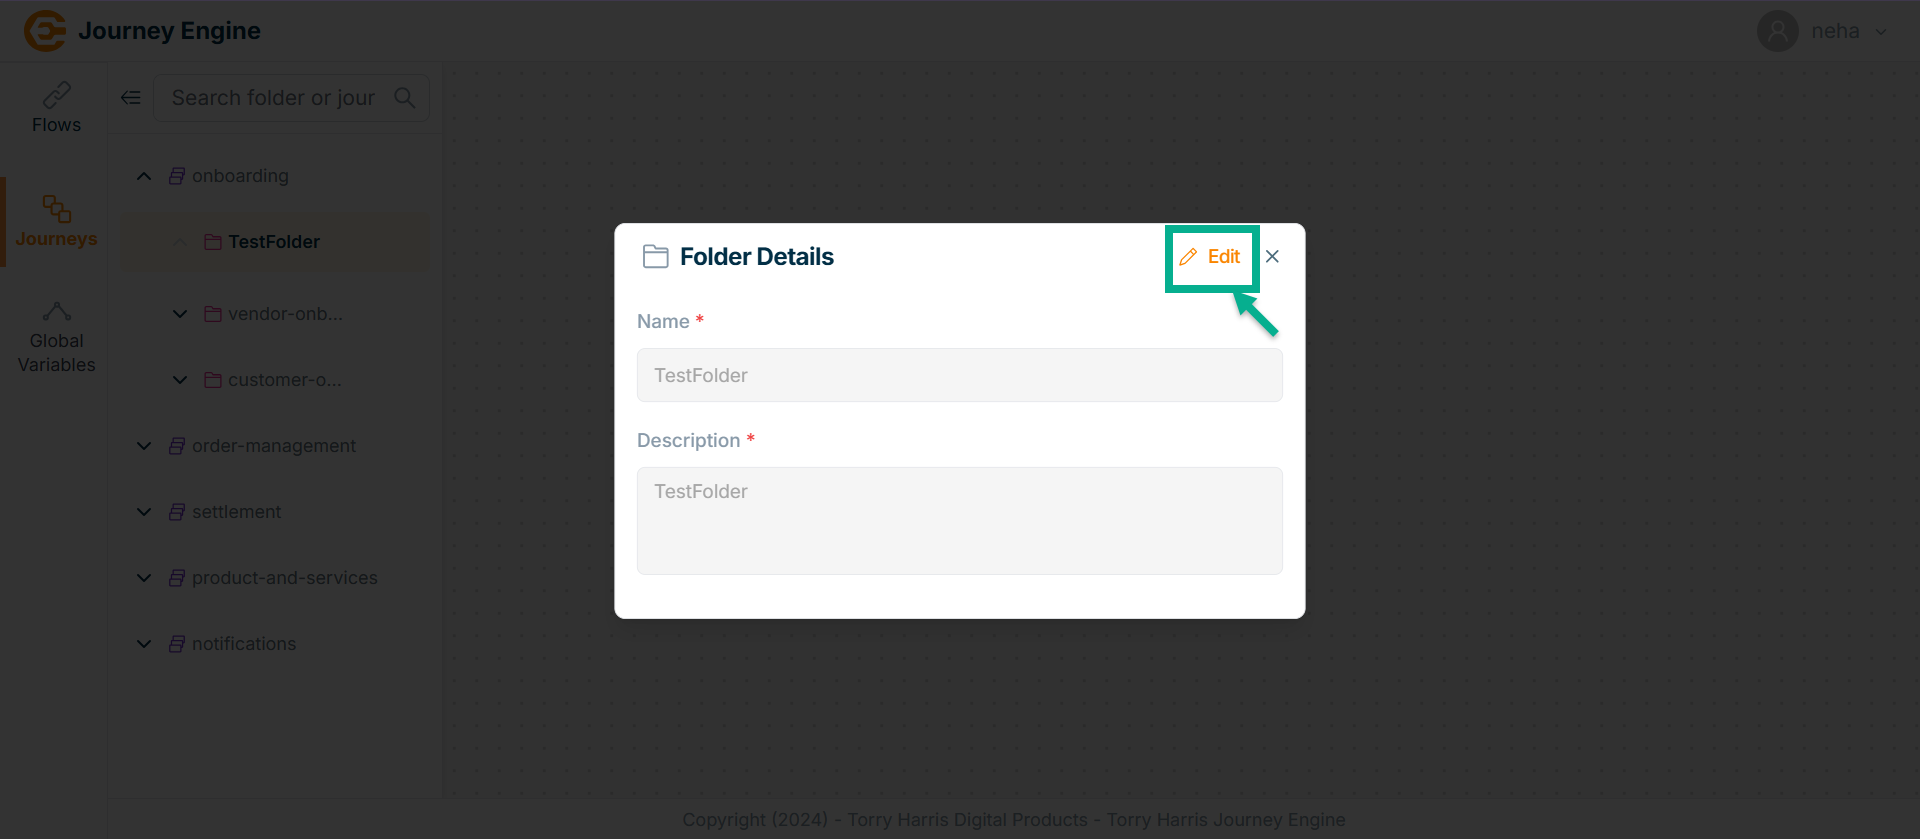
-
Click on Edit.
-
Update the Name and Description.
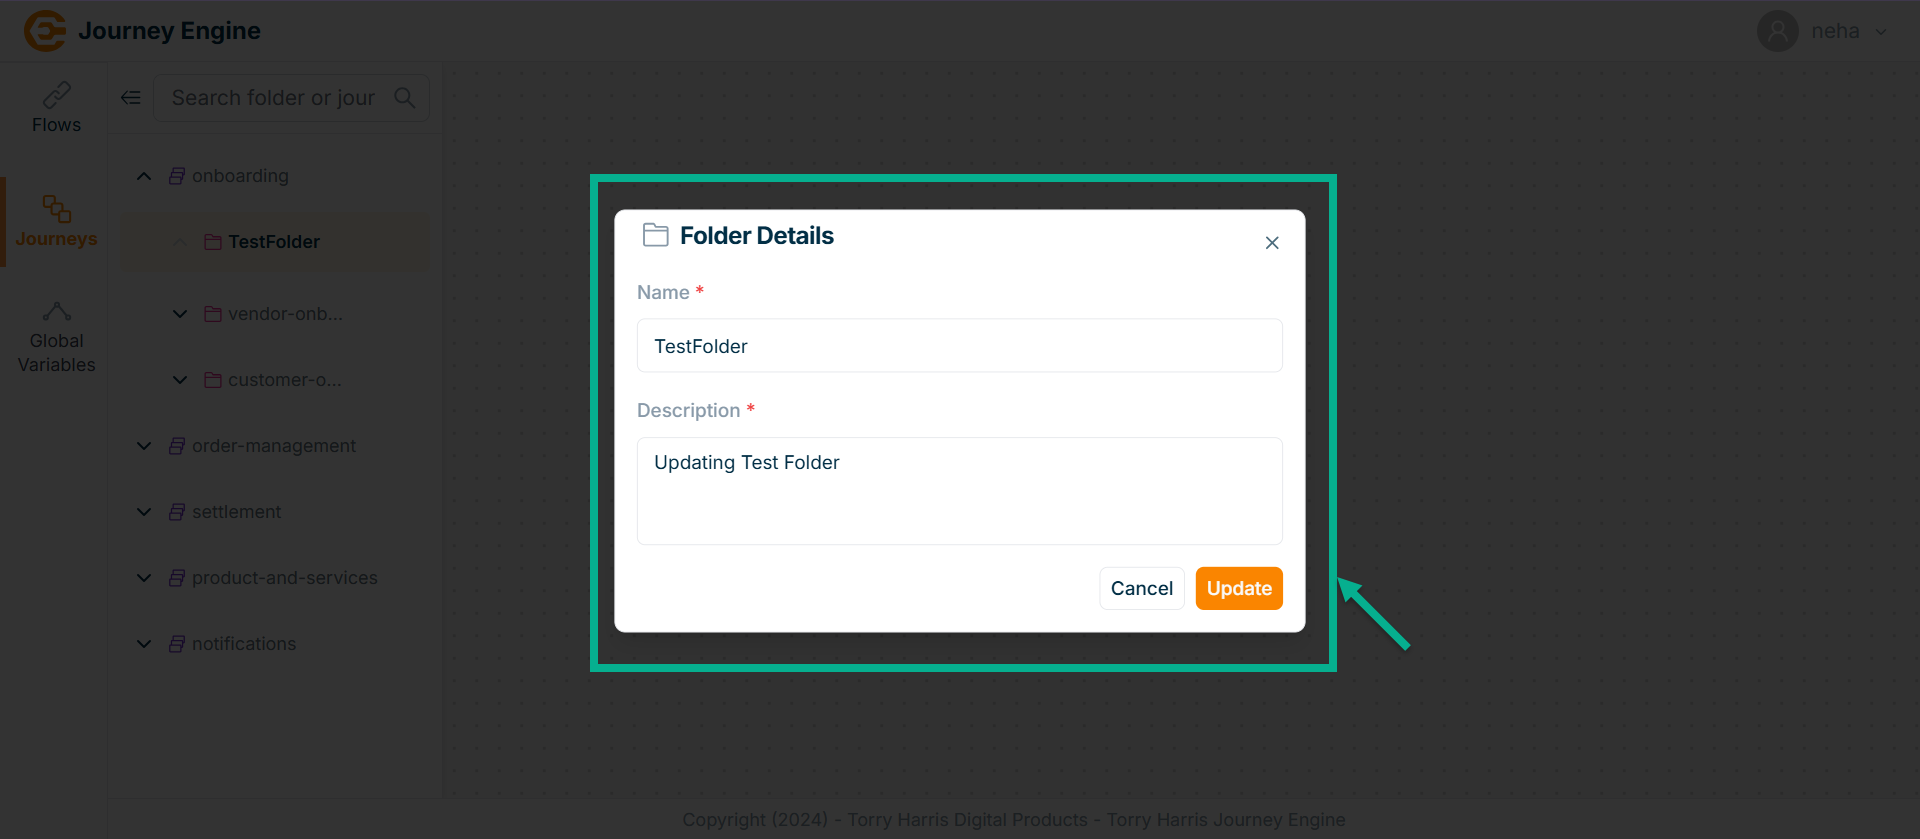
- Click on Update.
On updating, the confirmation message appears as shown below.

Deleting Folder
A folder cannot be deleted if it contains any journey.
- Hover upon the created Folder.
- Click on the Options icon.
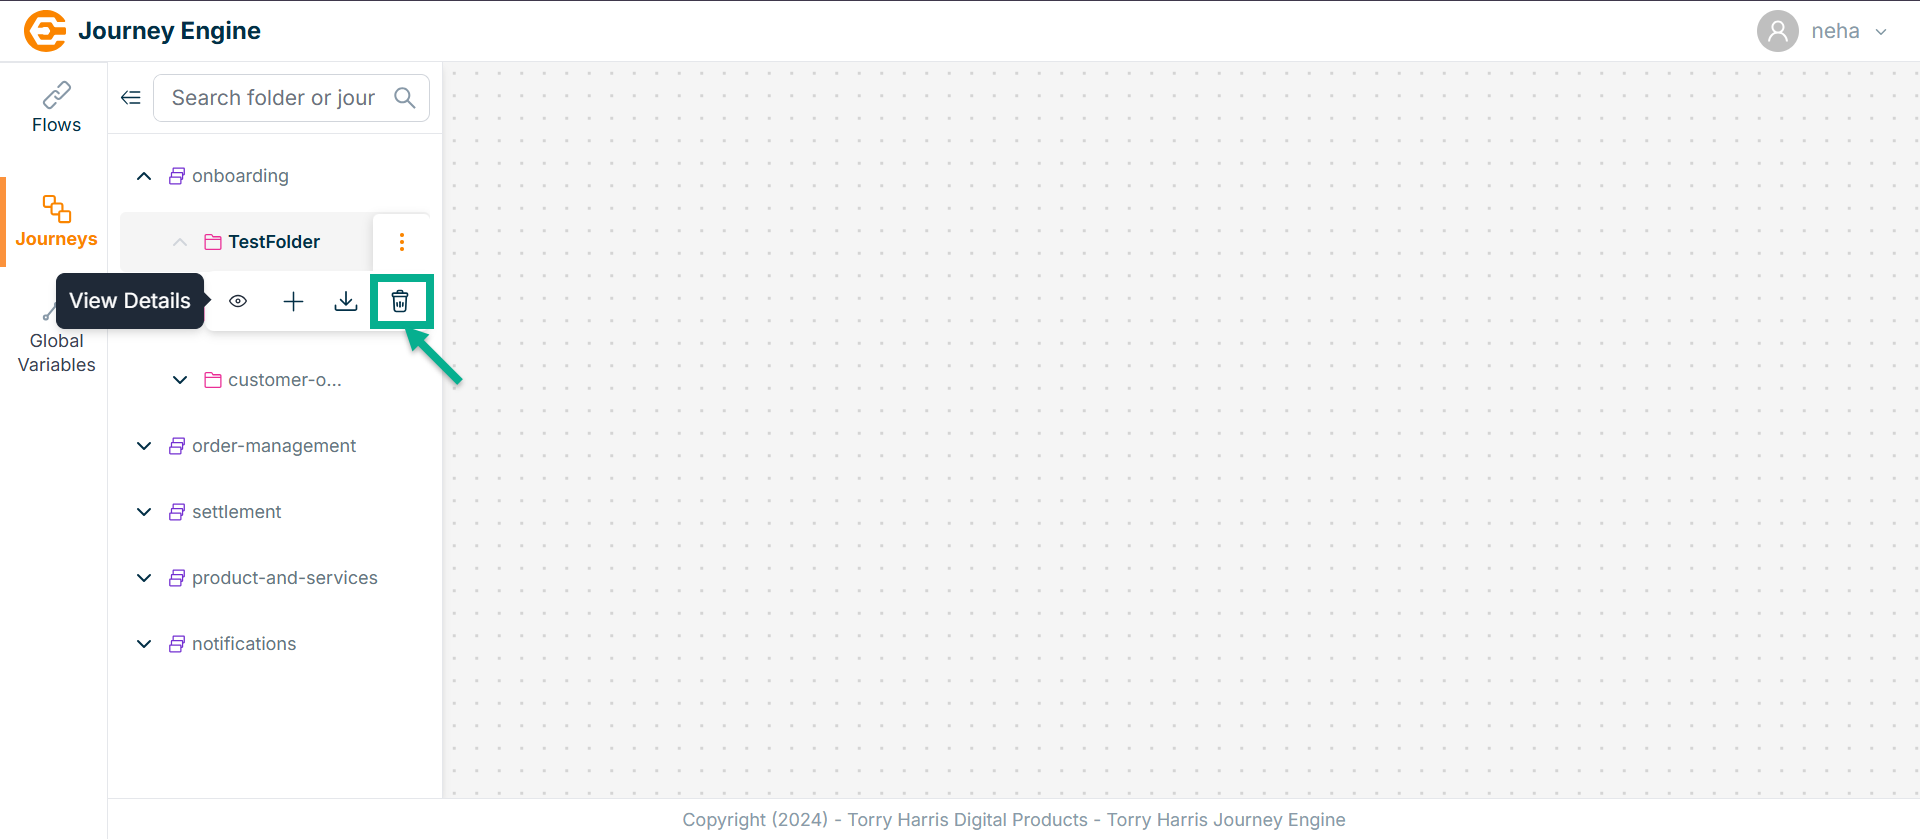
- Click on Delete Folder button.
The Confirm Delete screen appears as shown below.
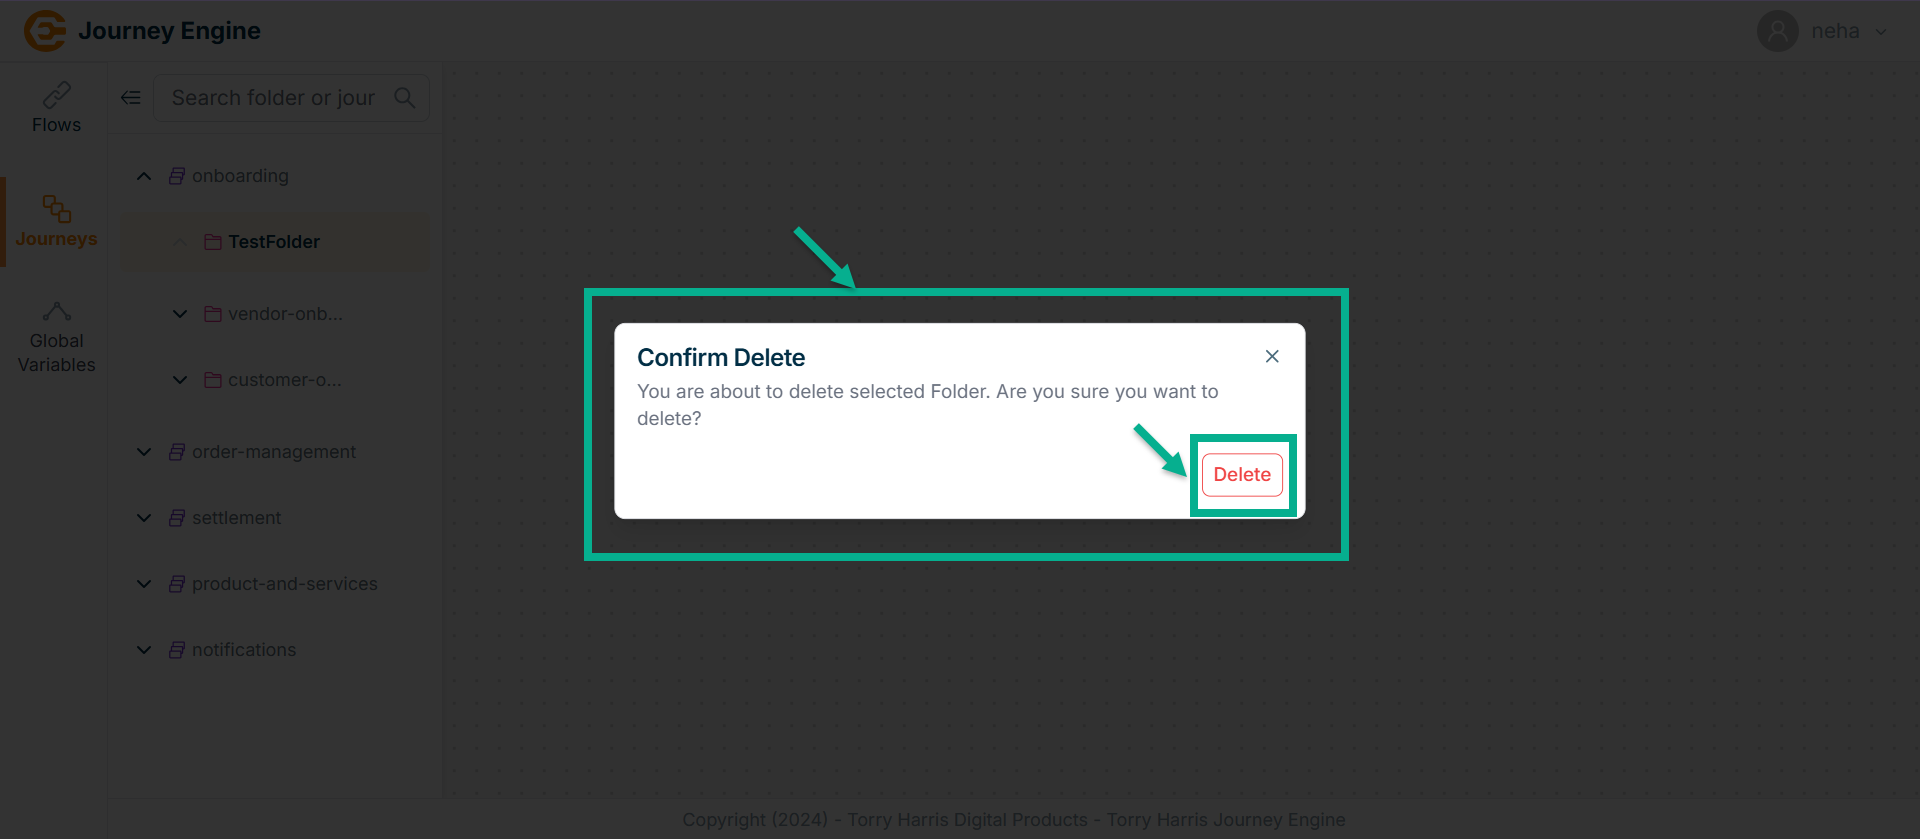
- Click Delete.
On deleting, the confirmation message appears as shown below.

Creating Journey
- Hover upon the created Folder.
- Click on the Options icon.
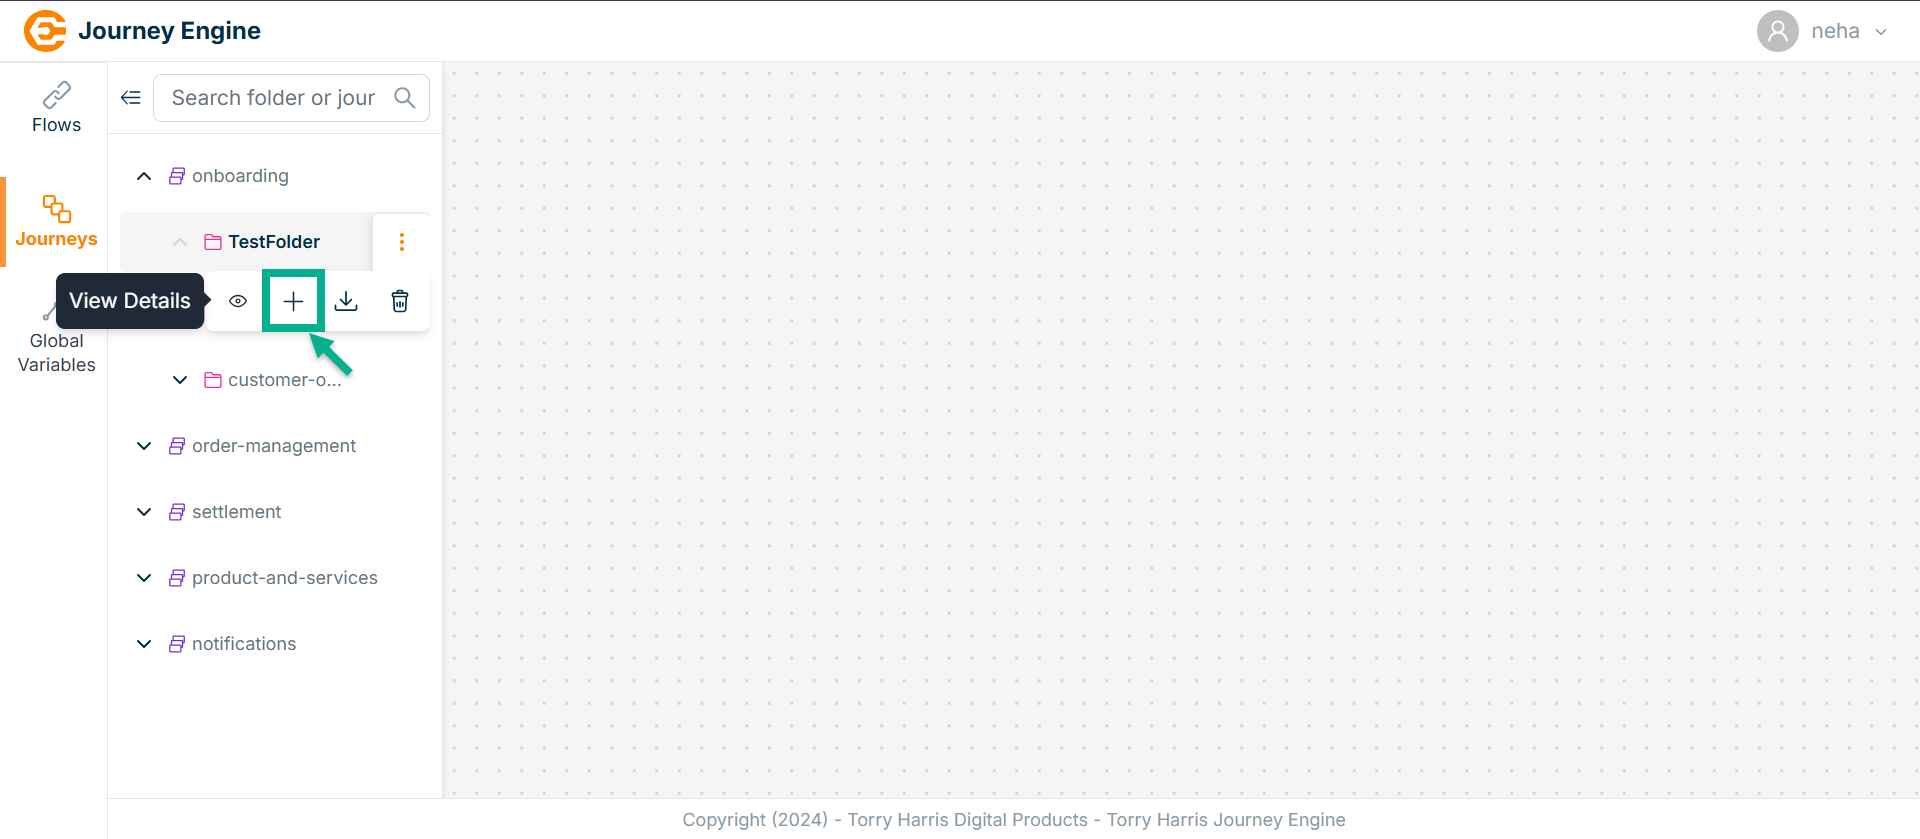
- Click on New Journey button.
The New Journey popup screen appears as shown below.
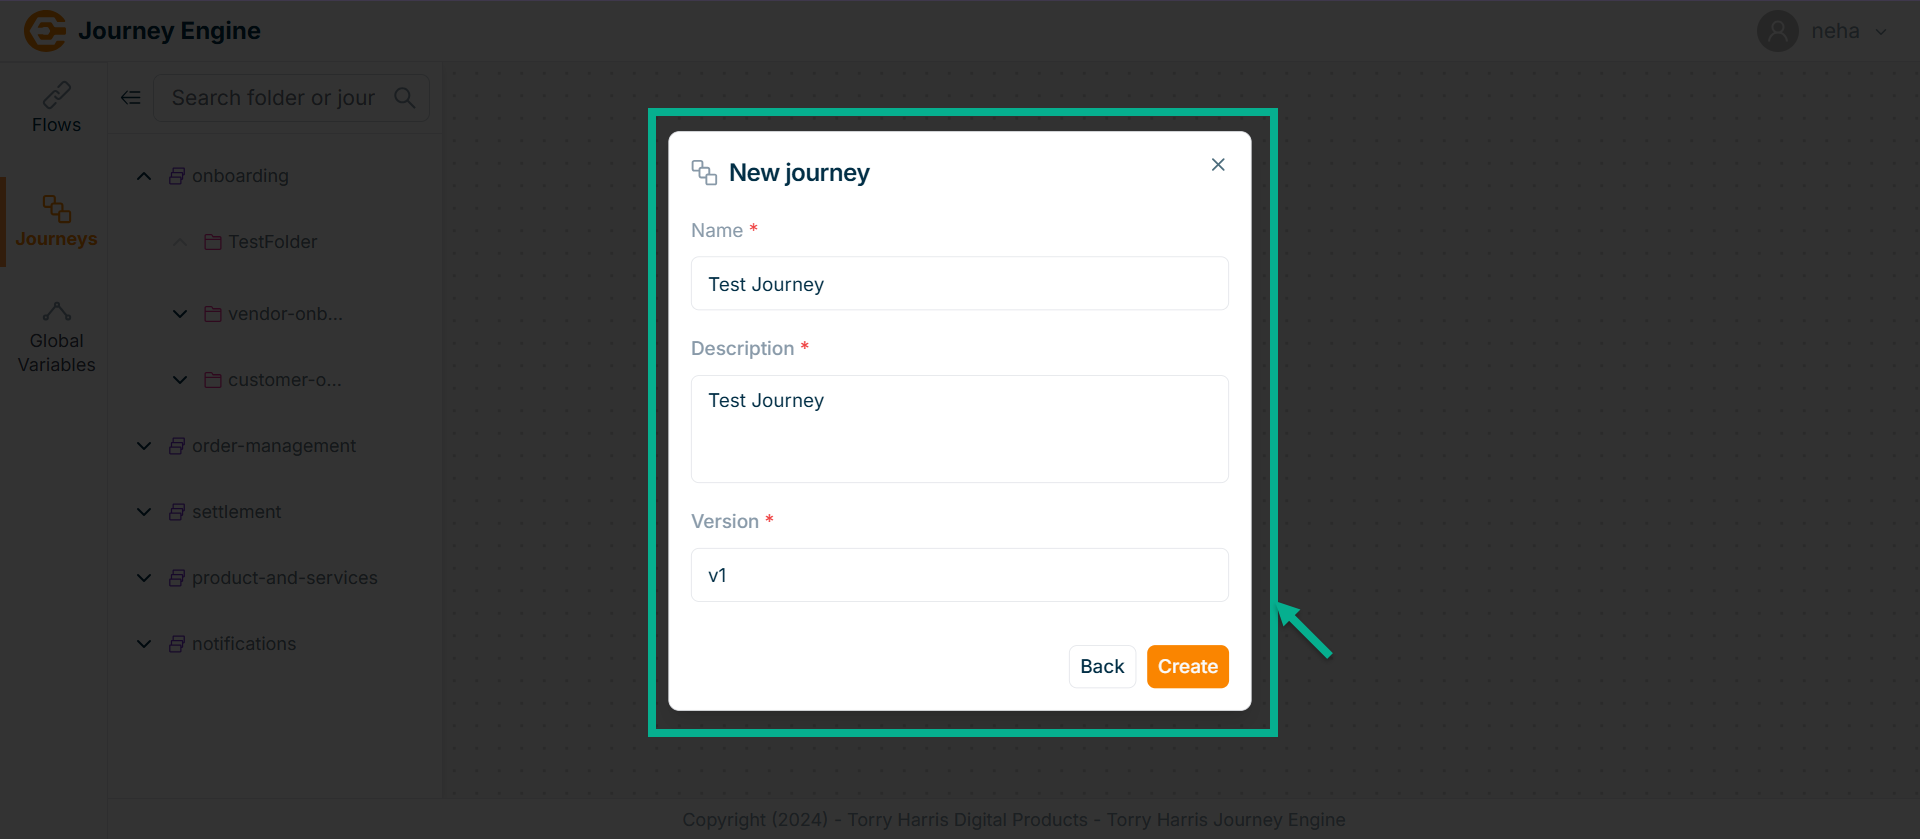
-
Enter Name, Description and Version.
-
Click on Create.
On creating, the screen appears as shown below with the confirmation message.
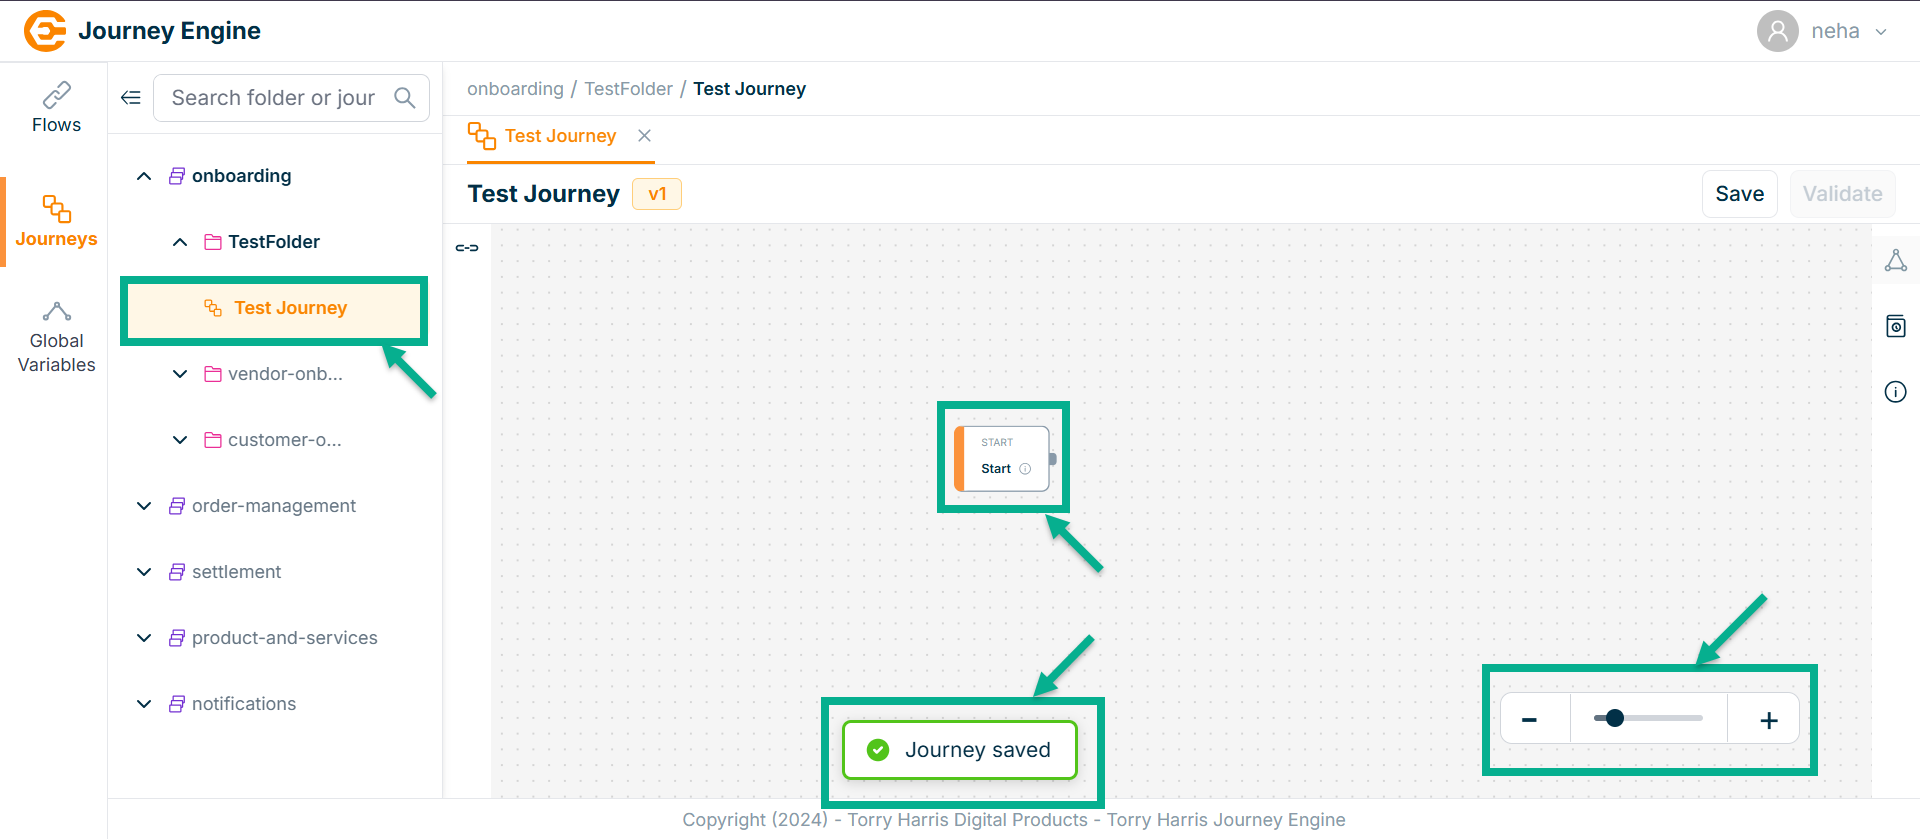
Once the Journey is created, Start node will appear in the canvas by default.
The Zoom Controls allow you to zoom out, zoom in, or adjust the canvas view using the minus button, slider, and plus button respectively.
Journey Version History
- Click on Version History icon.
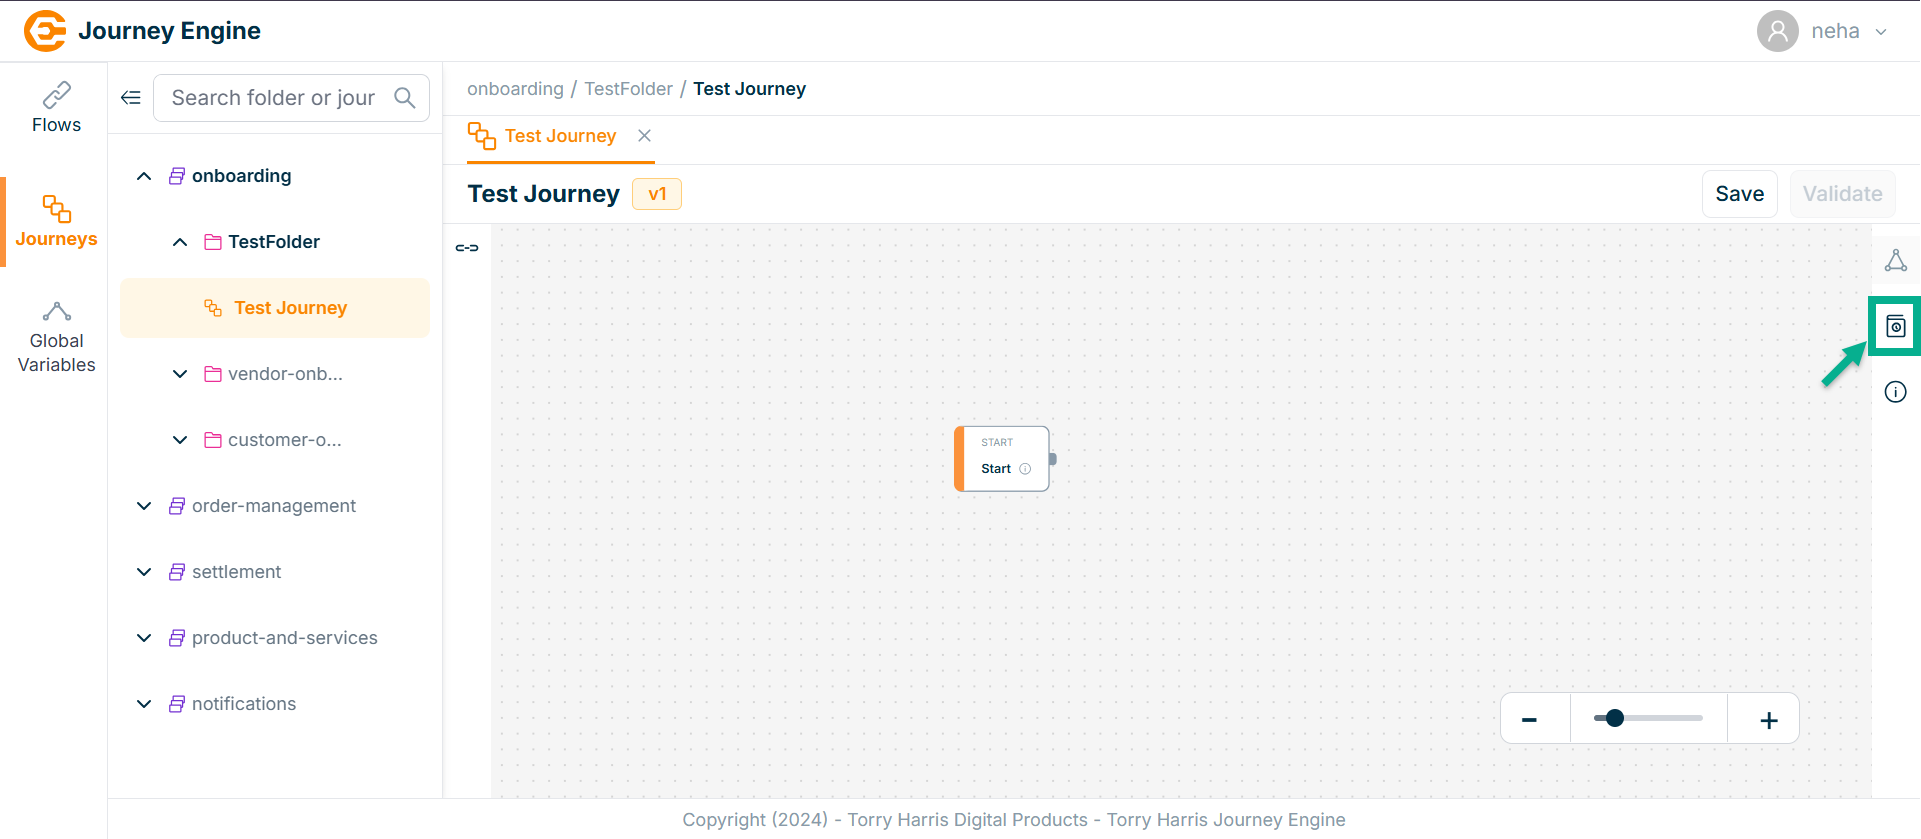
The Version History popup screen appears as shown below
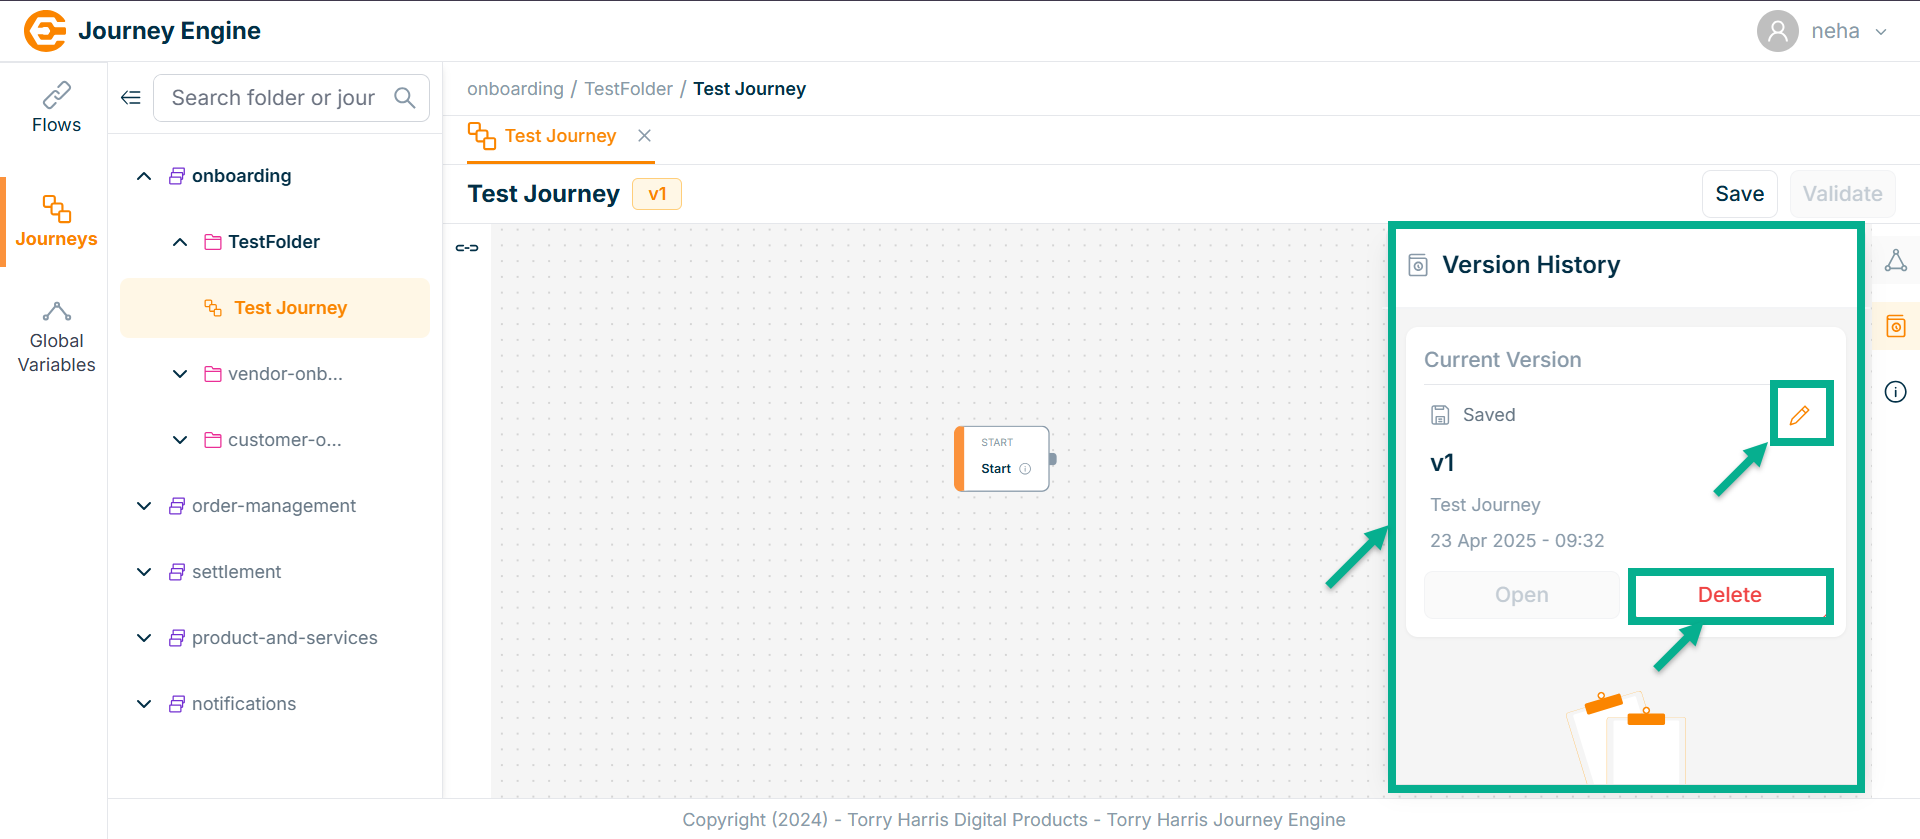
To Edit the Journey Version, click edit button in Version History.
To Delete the Journey Version, click delete button in Version History.
Editing Journey Info
- Click on Journey Info icon.

The Journey Info screen appears as shown below
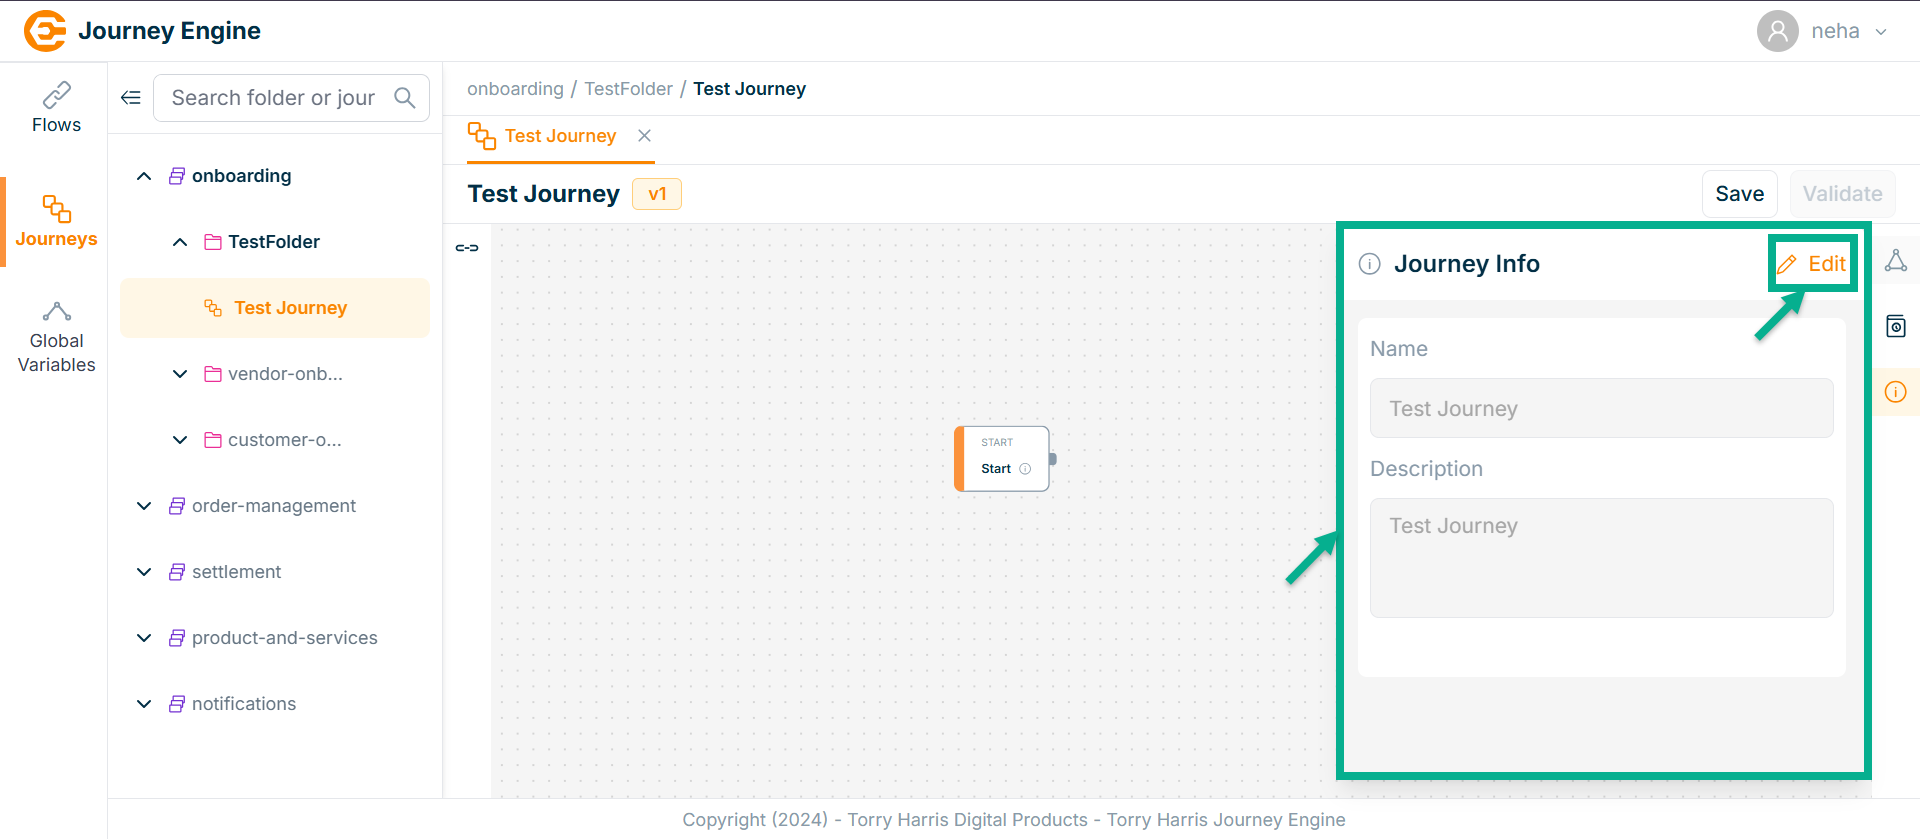
- Click on Edit.
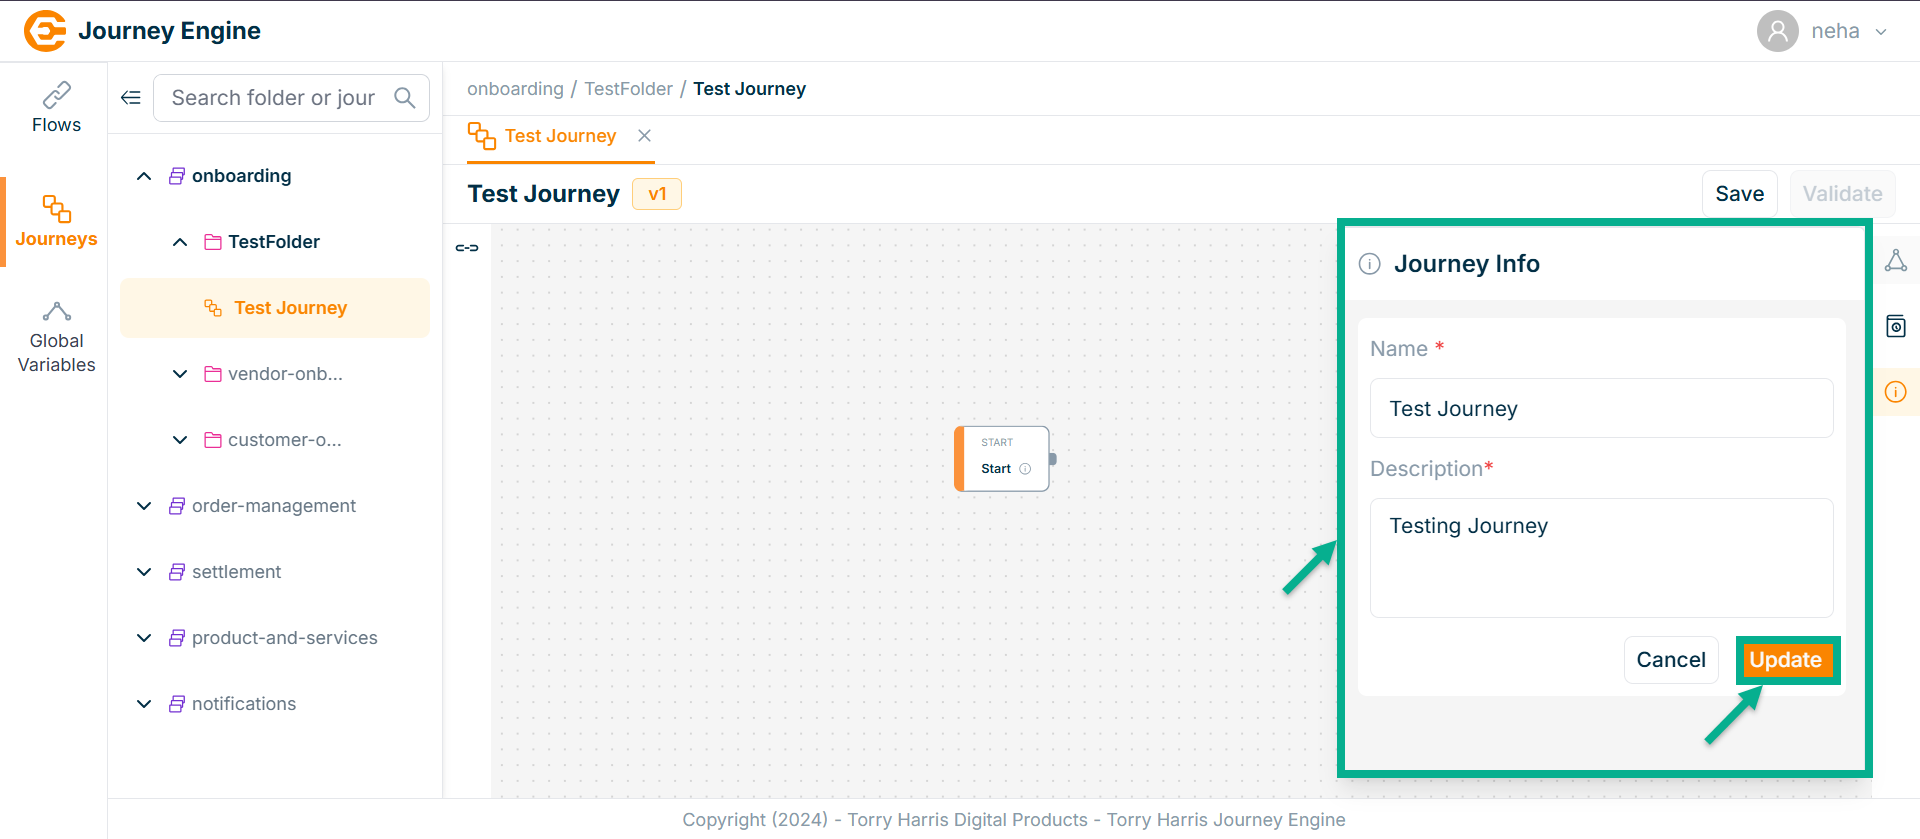
-
Enter Name and Description.
-
Click Update.
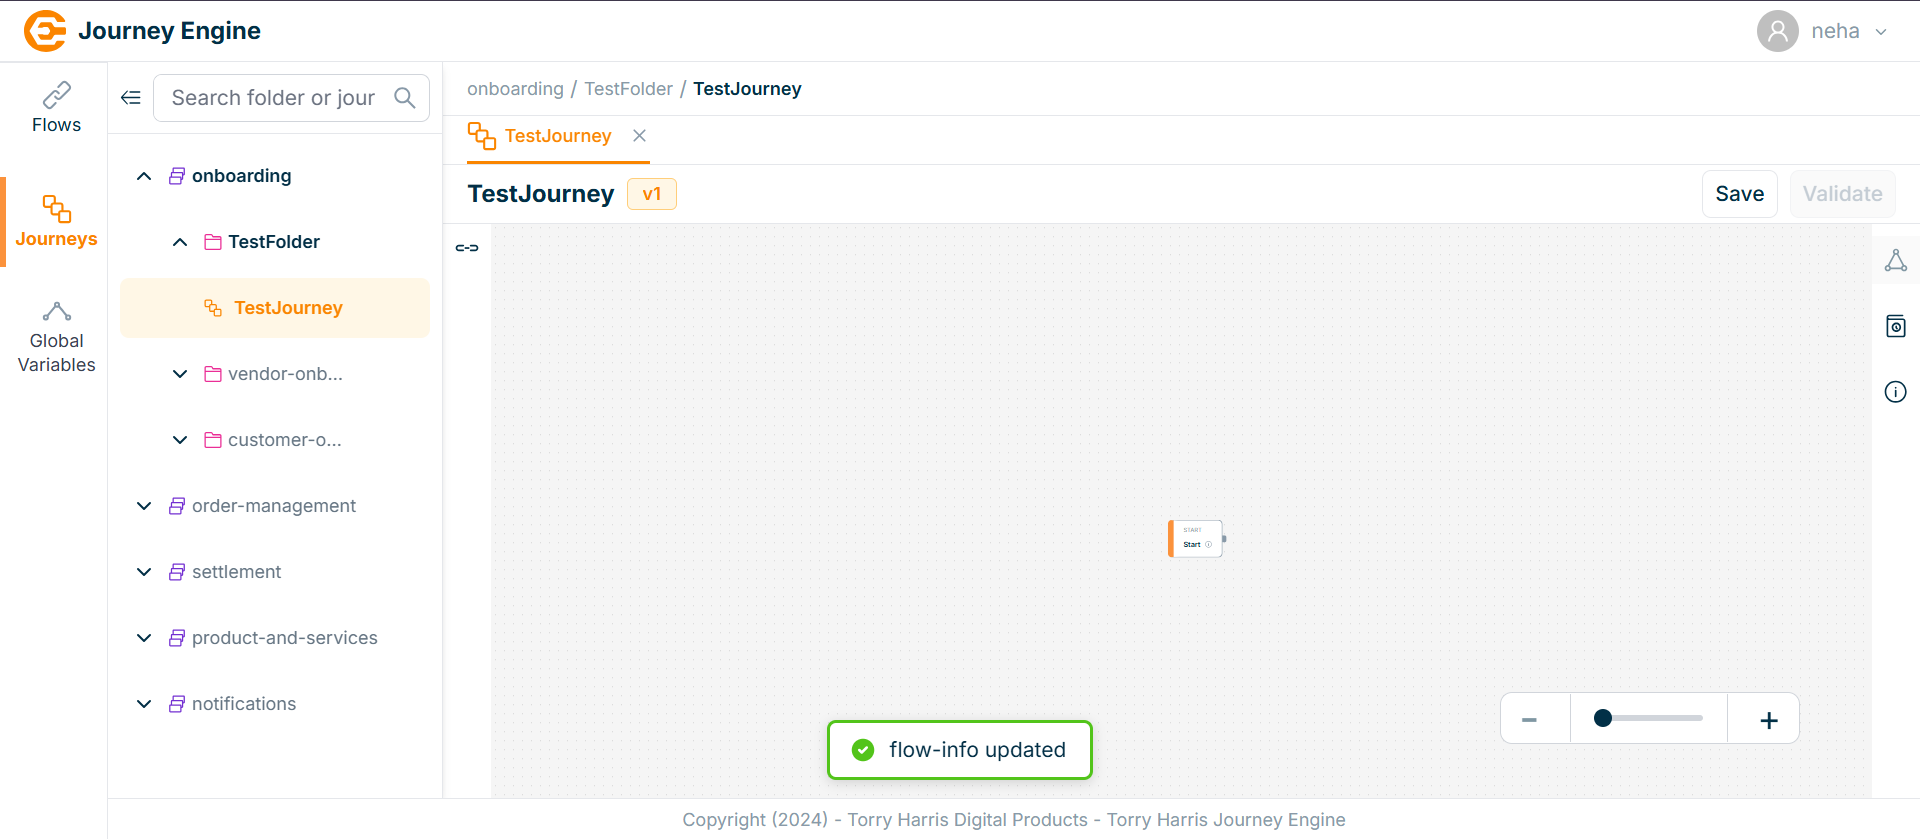
On updating, the screen appears as shown below with the confirmation message.
Exporting Journey
- Click on Options icon.
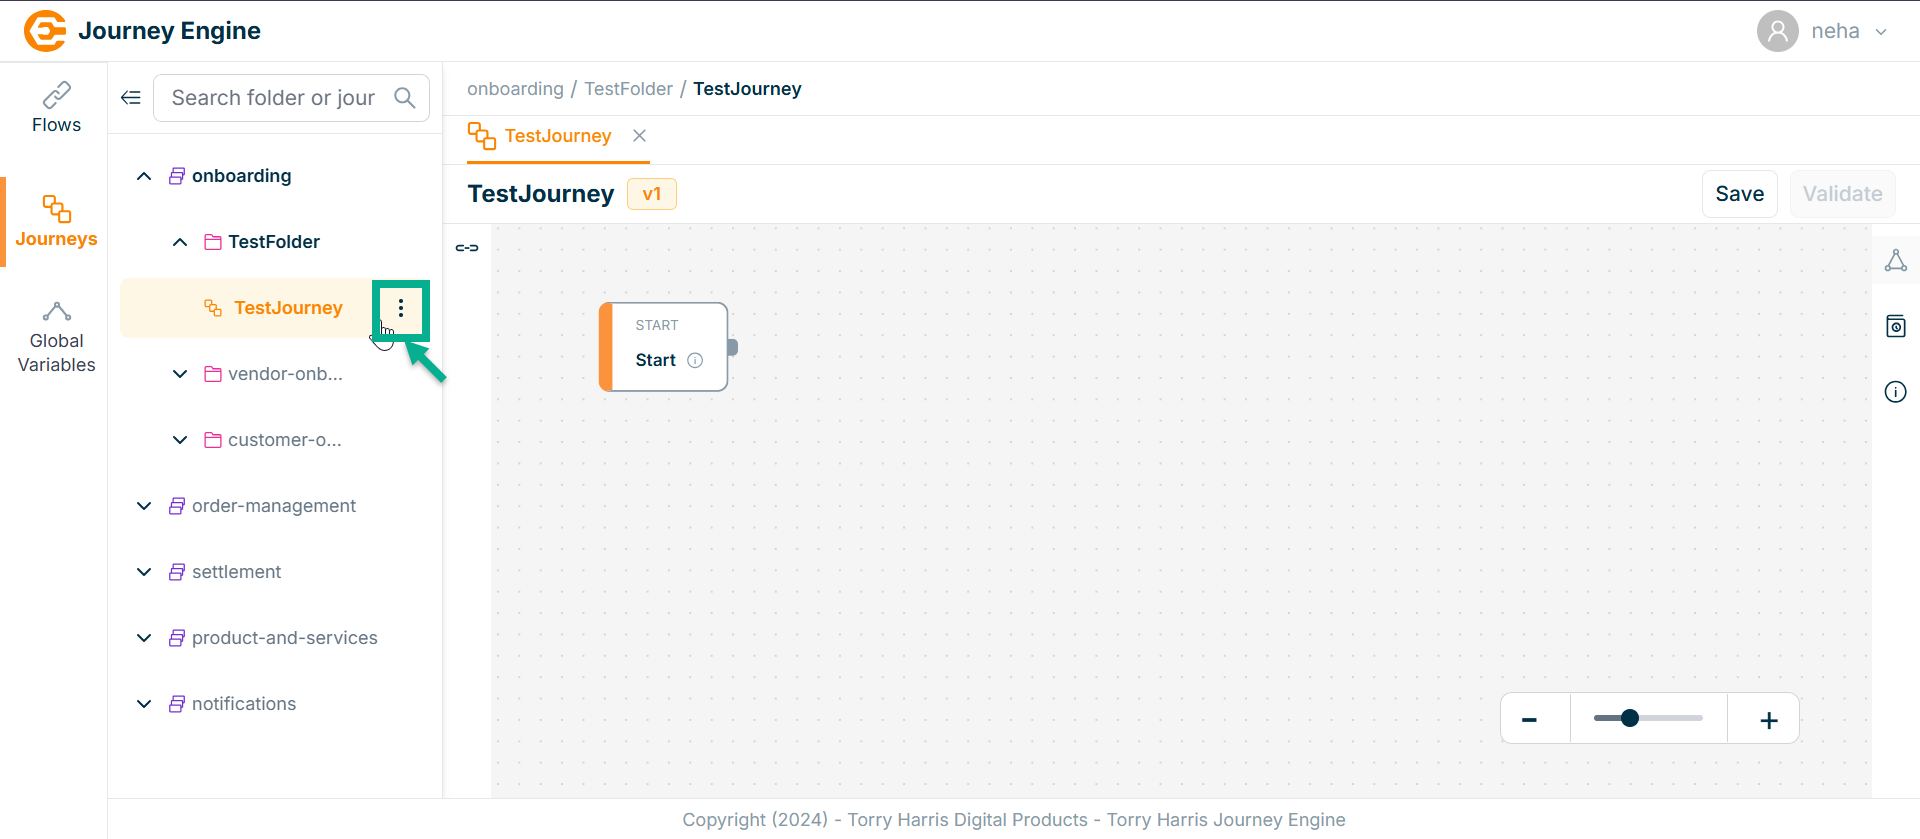
- Click on Export Journey icon.
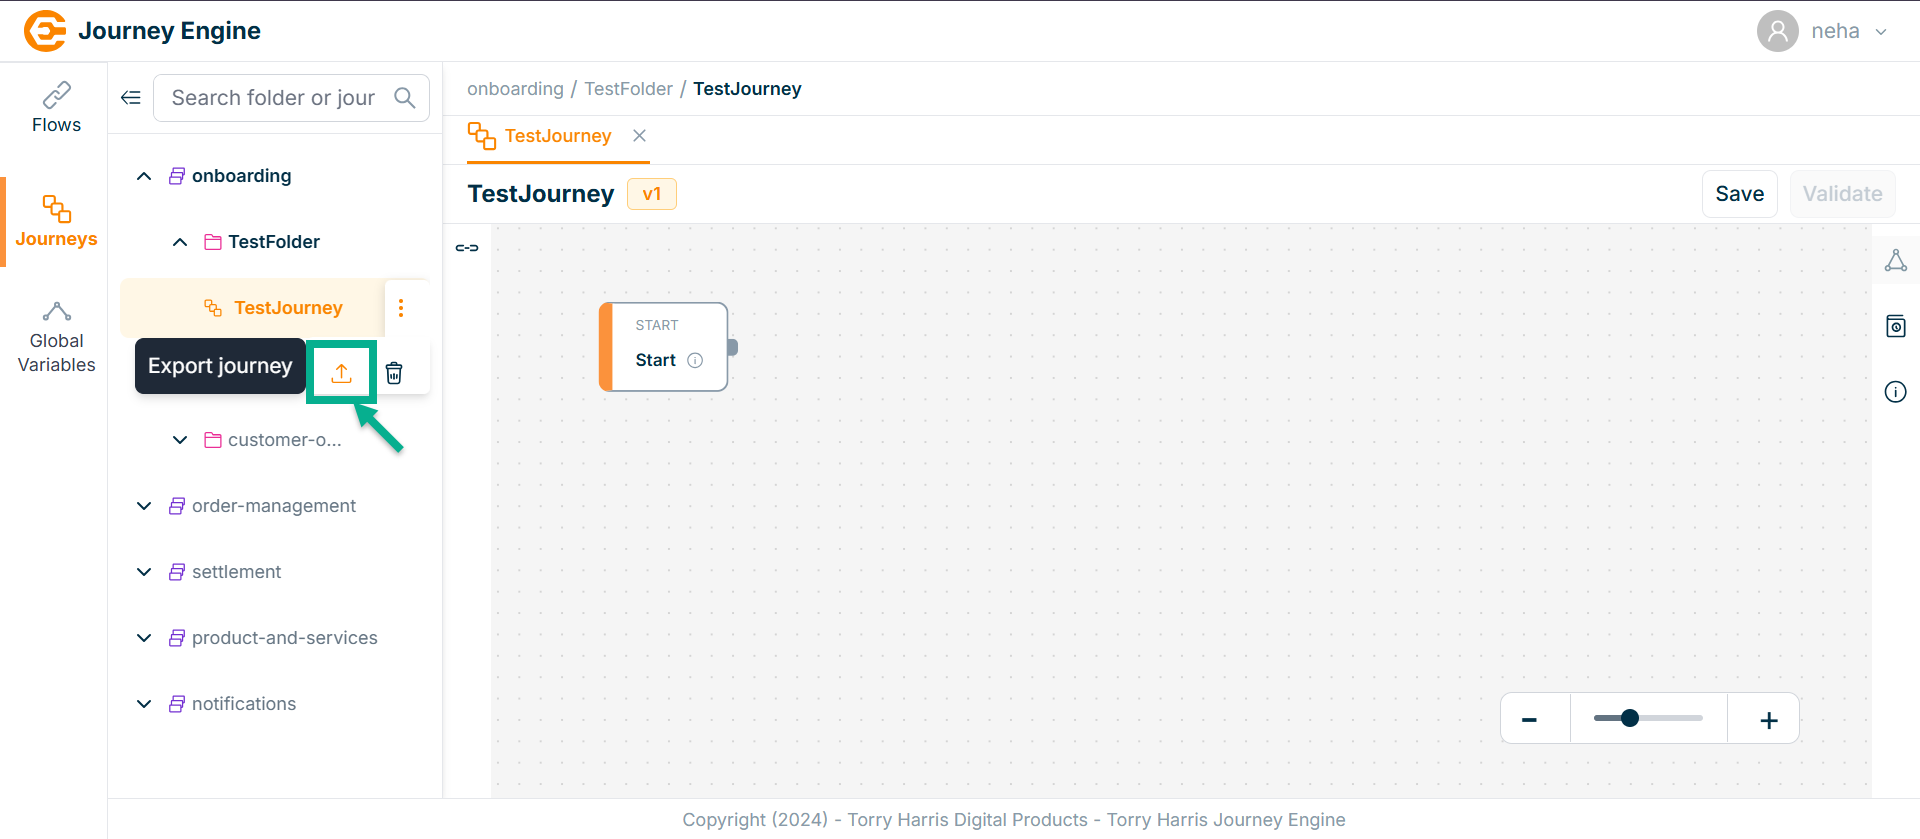
The Export Journey screen appears as shown below
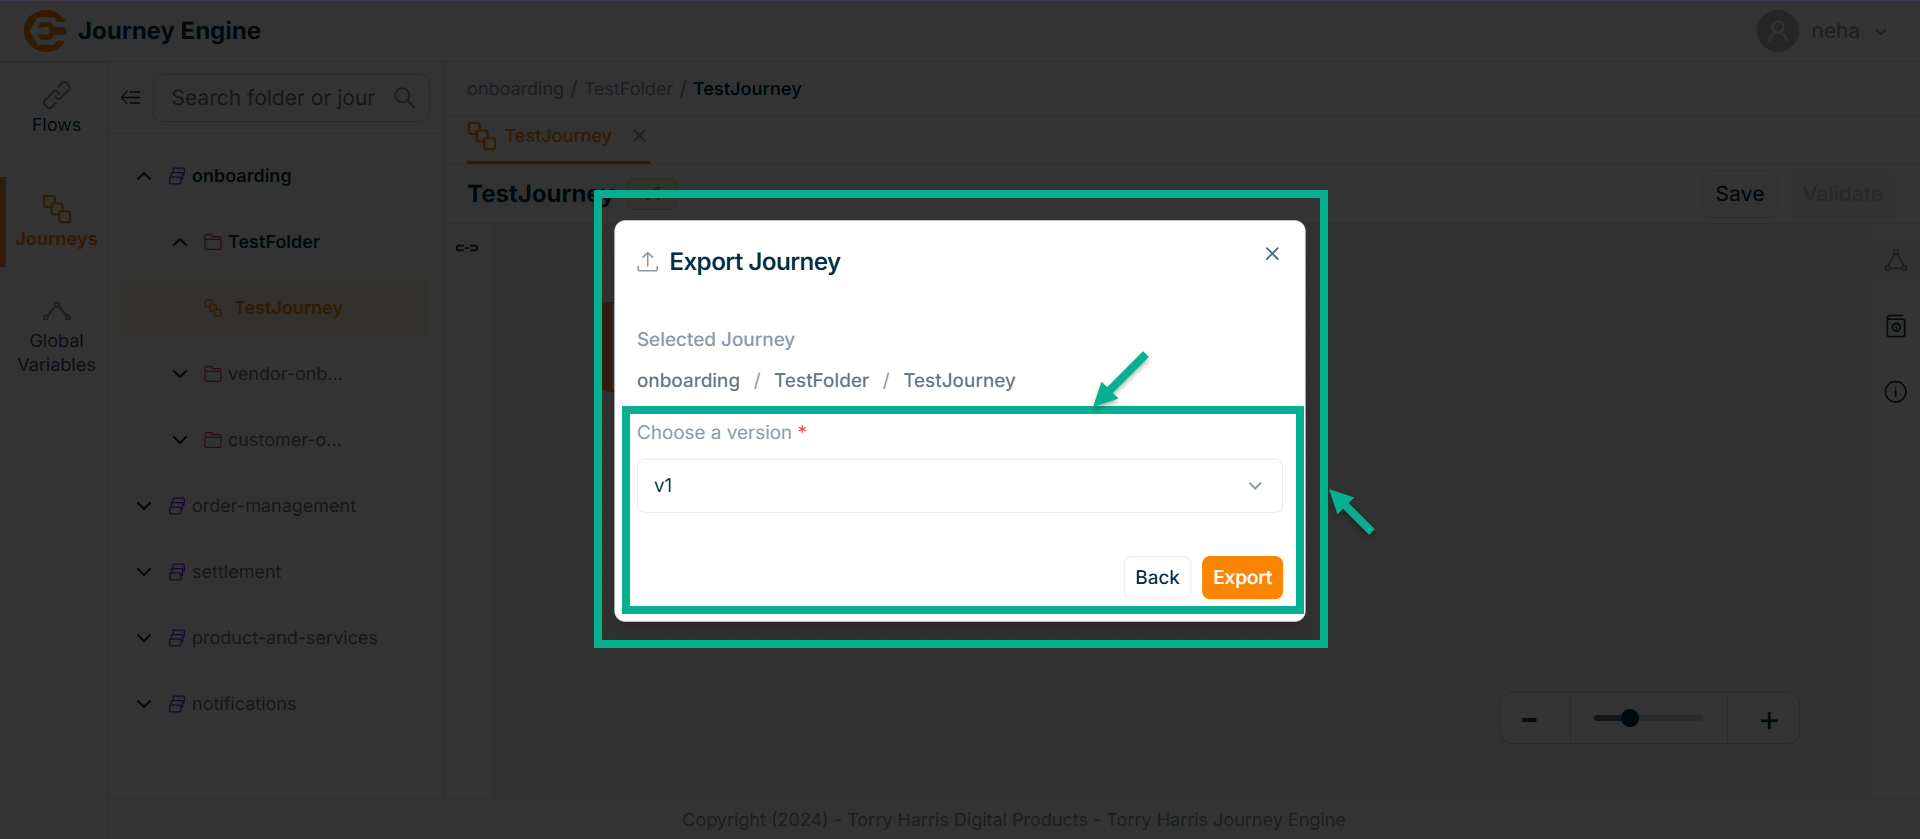
-
Choose a version from the dropdown.
-
Click on Export.
On exporting, the confirmation message appears as shown below.

Importing Journey
- Hover upon the created Folder.
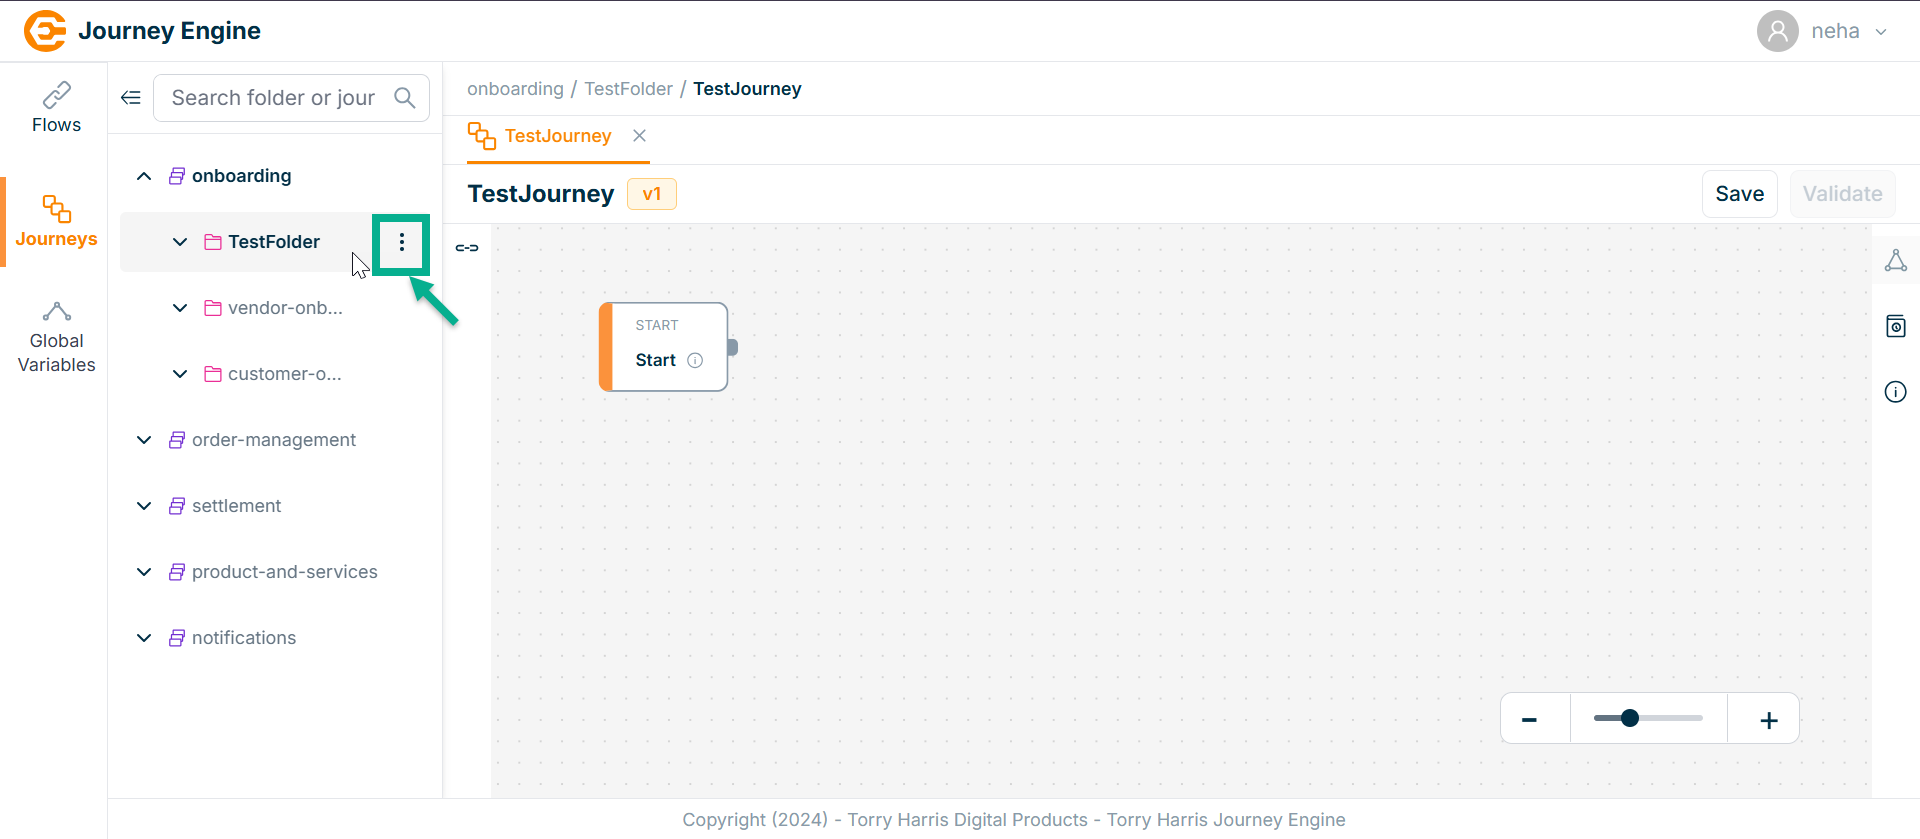
- Click on the Options icon.
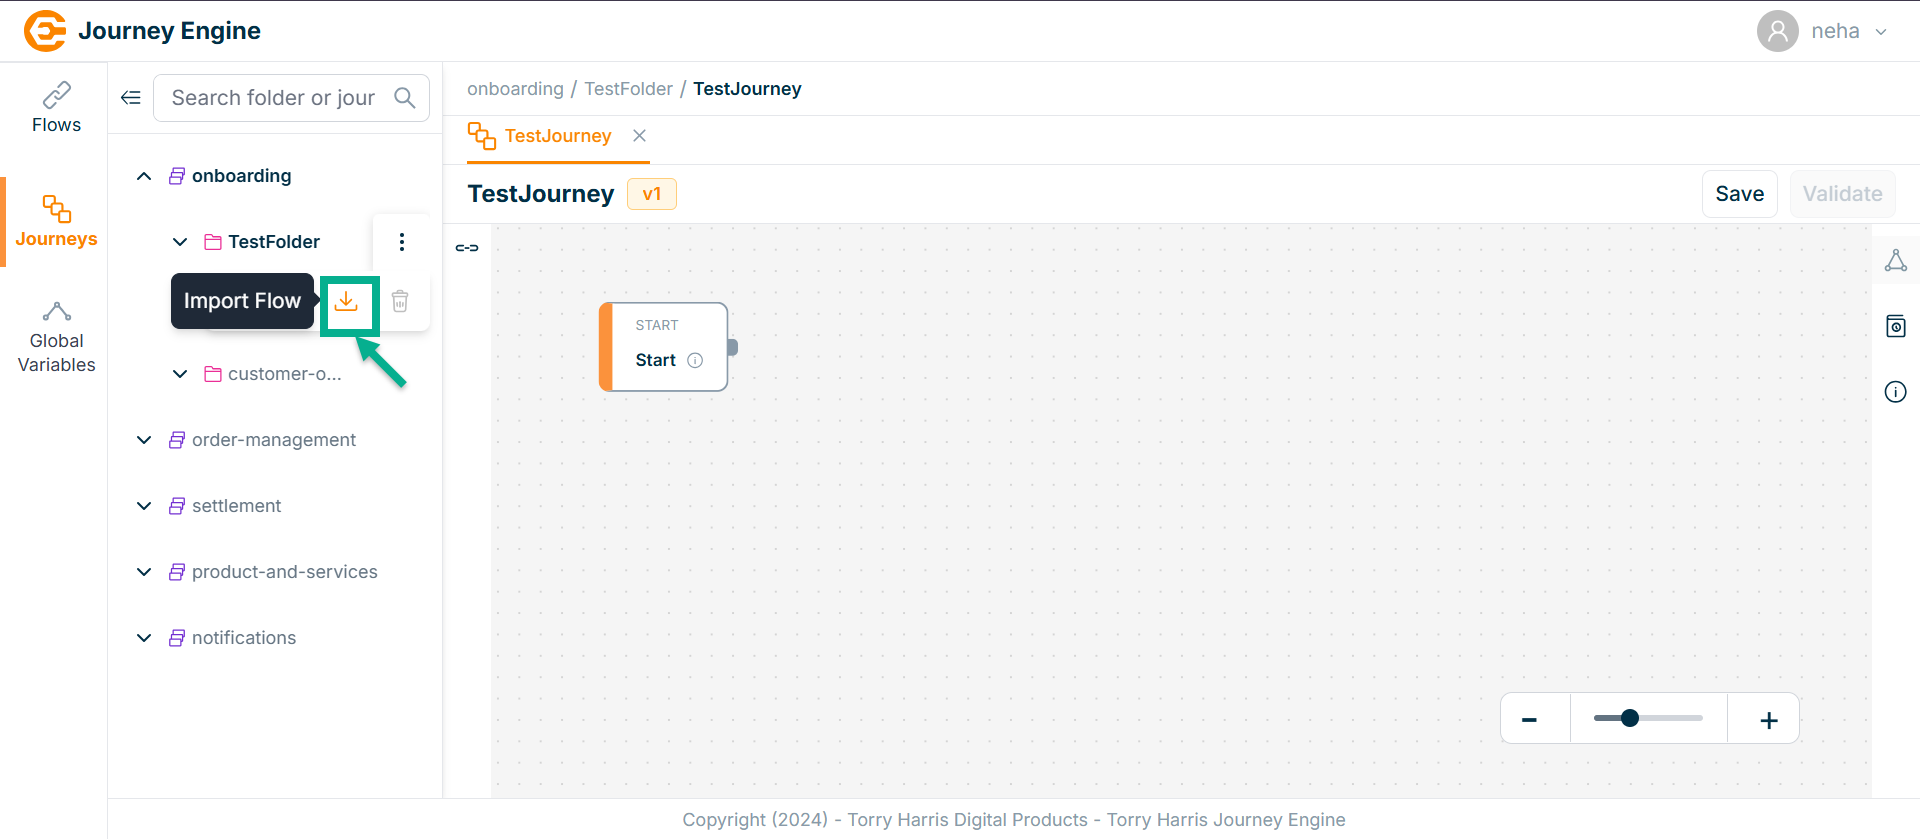
- Click on Import Journey button.
The Import Journey screen appears as shown below.
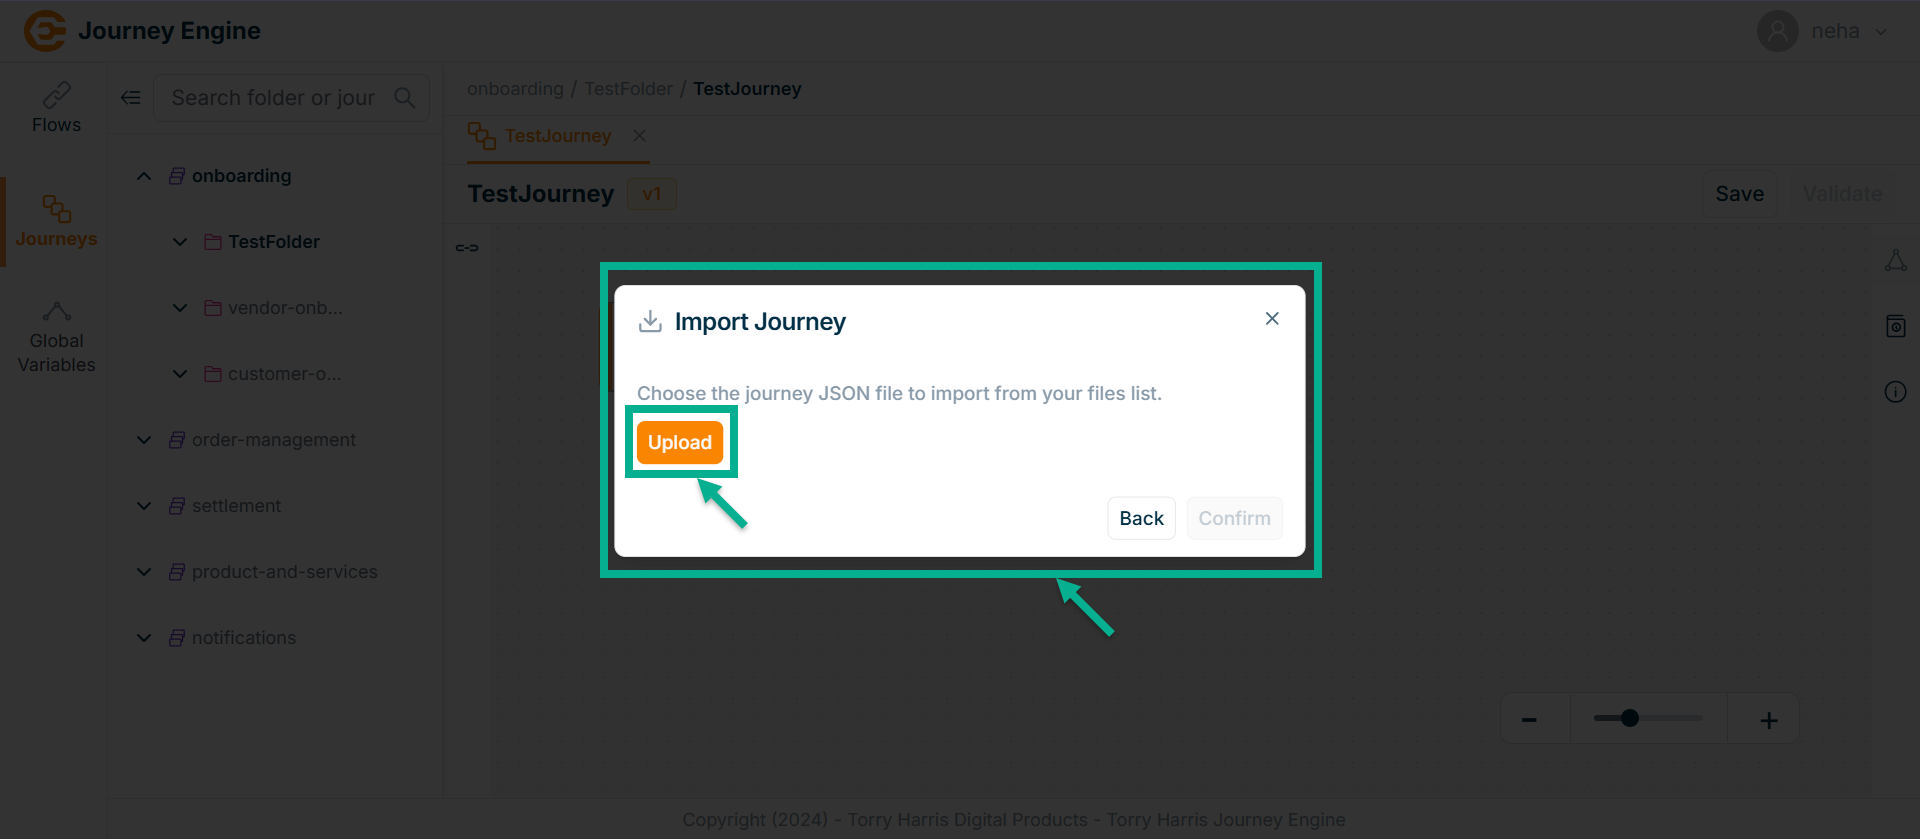
-
Click on Upload.
-
Upload the json file from the local.
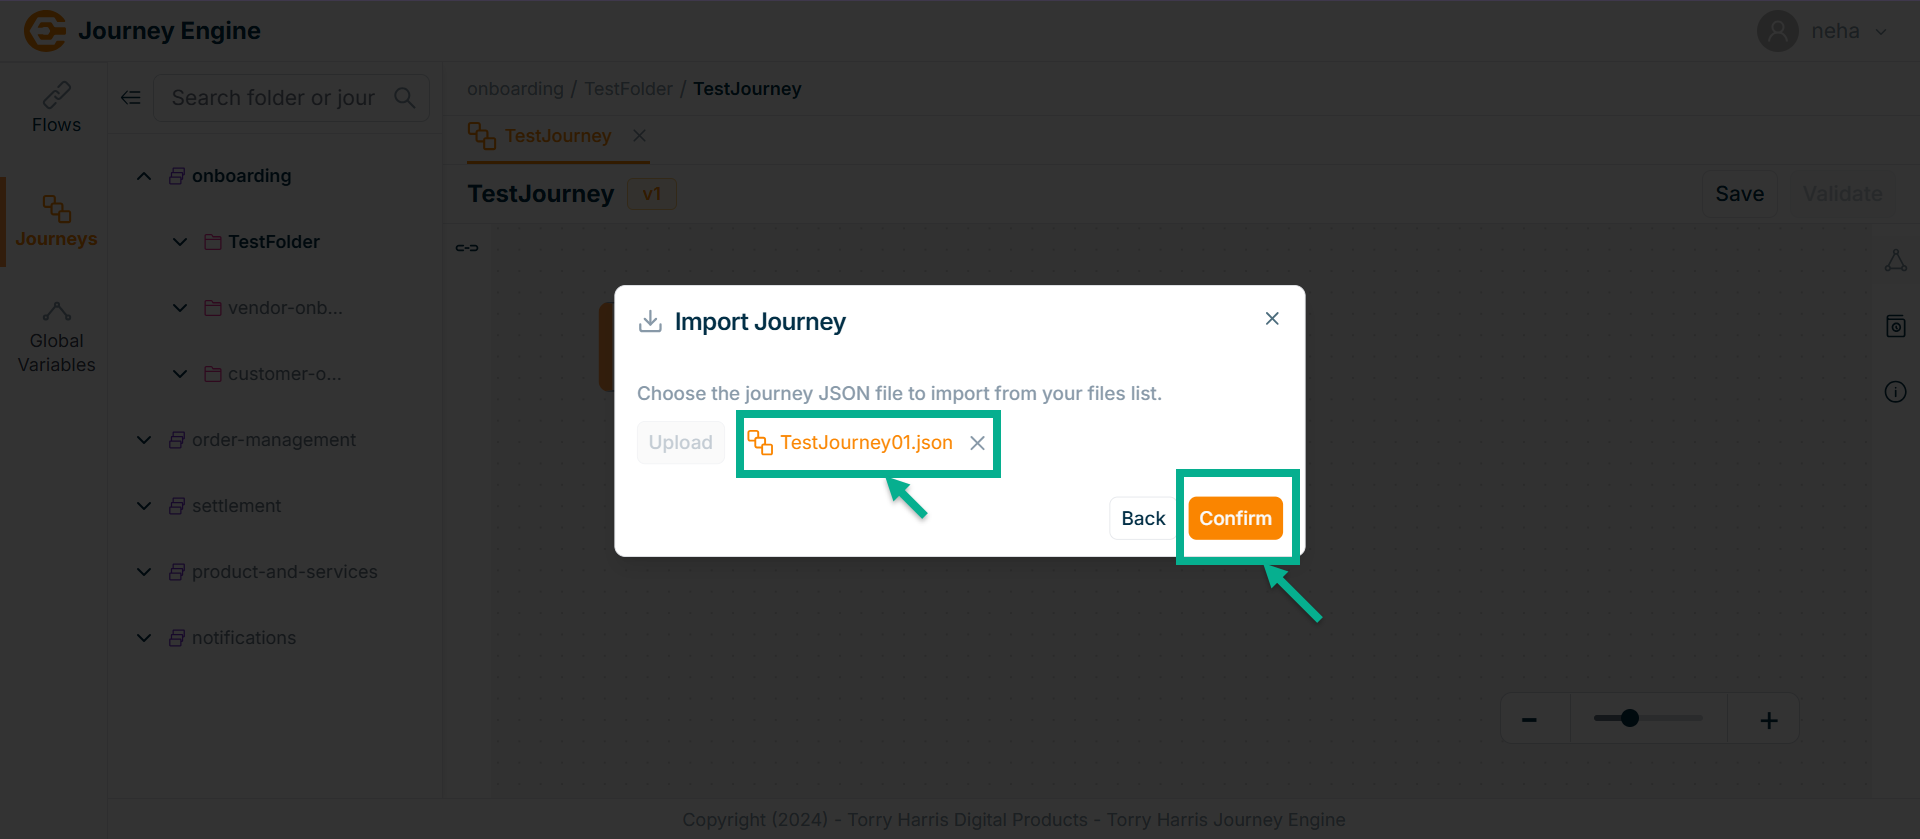
- Click on Confirm.
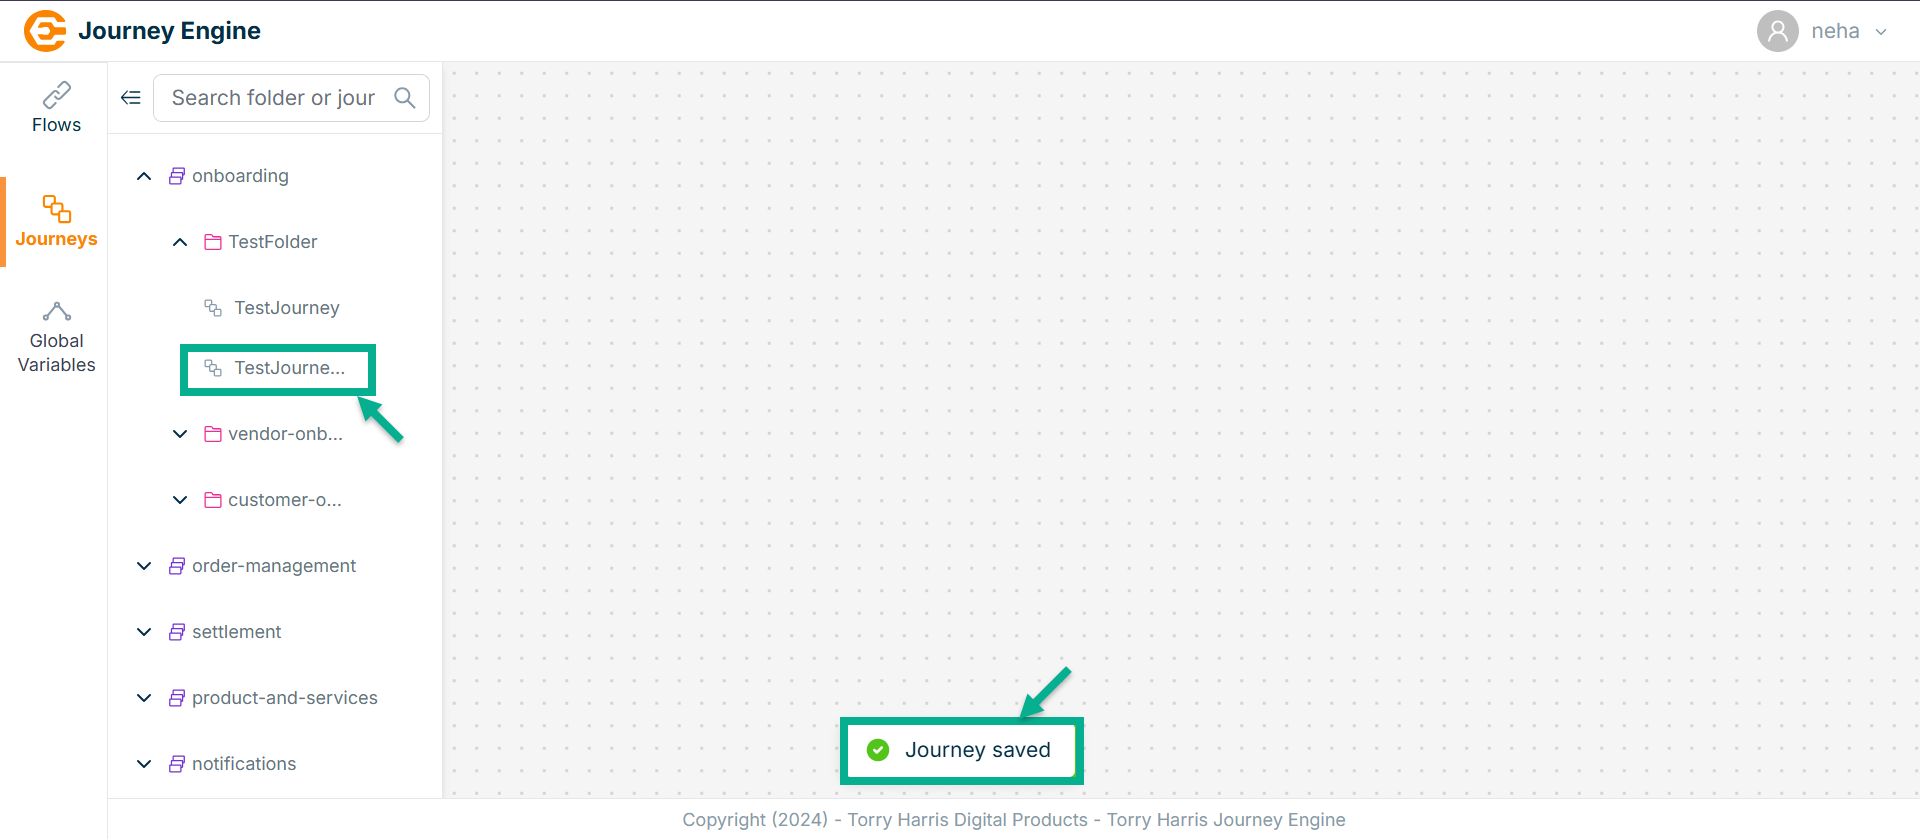
On confirming, the screen appears as shown below with the confirmation message and imported json file.
Deleting Journey
A Journey version cannot be deleted while it is in the deployed state.
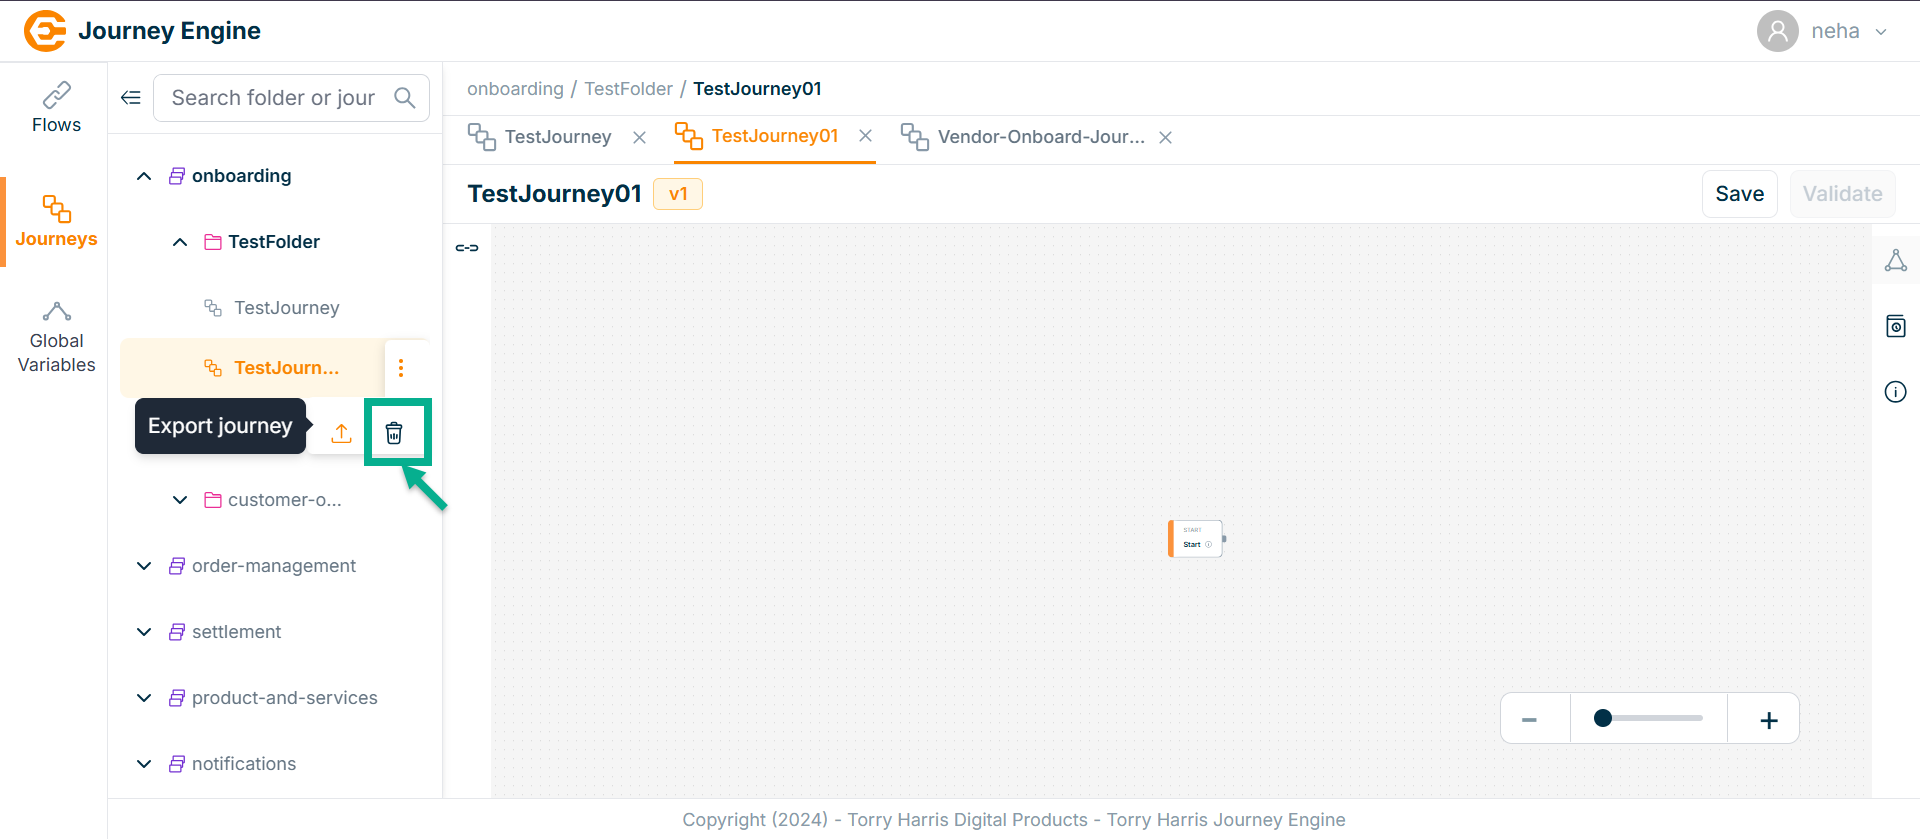
- Click on Options icon
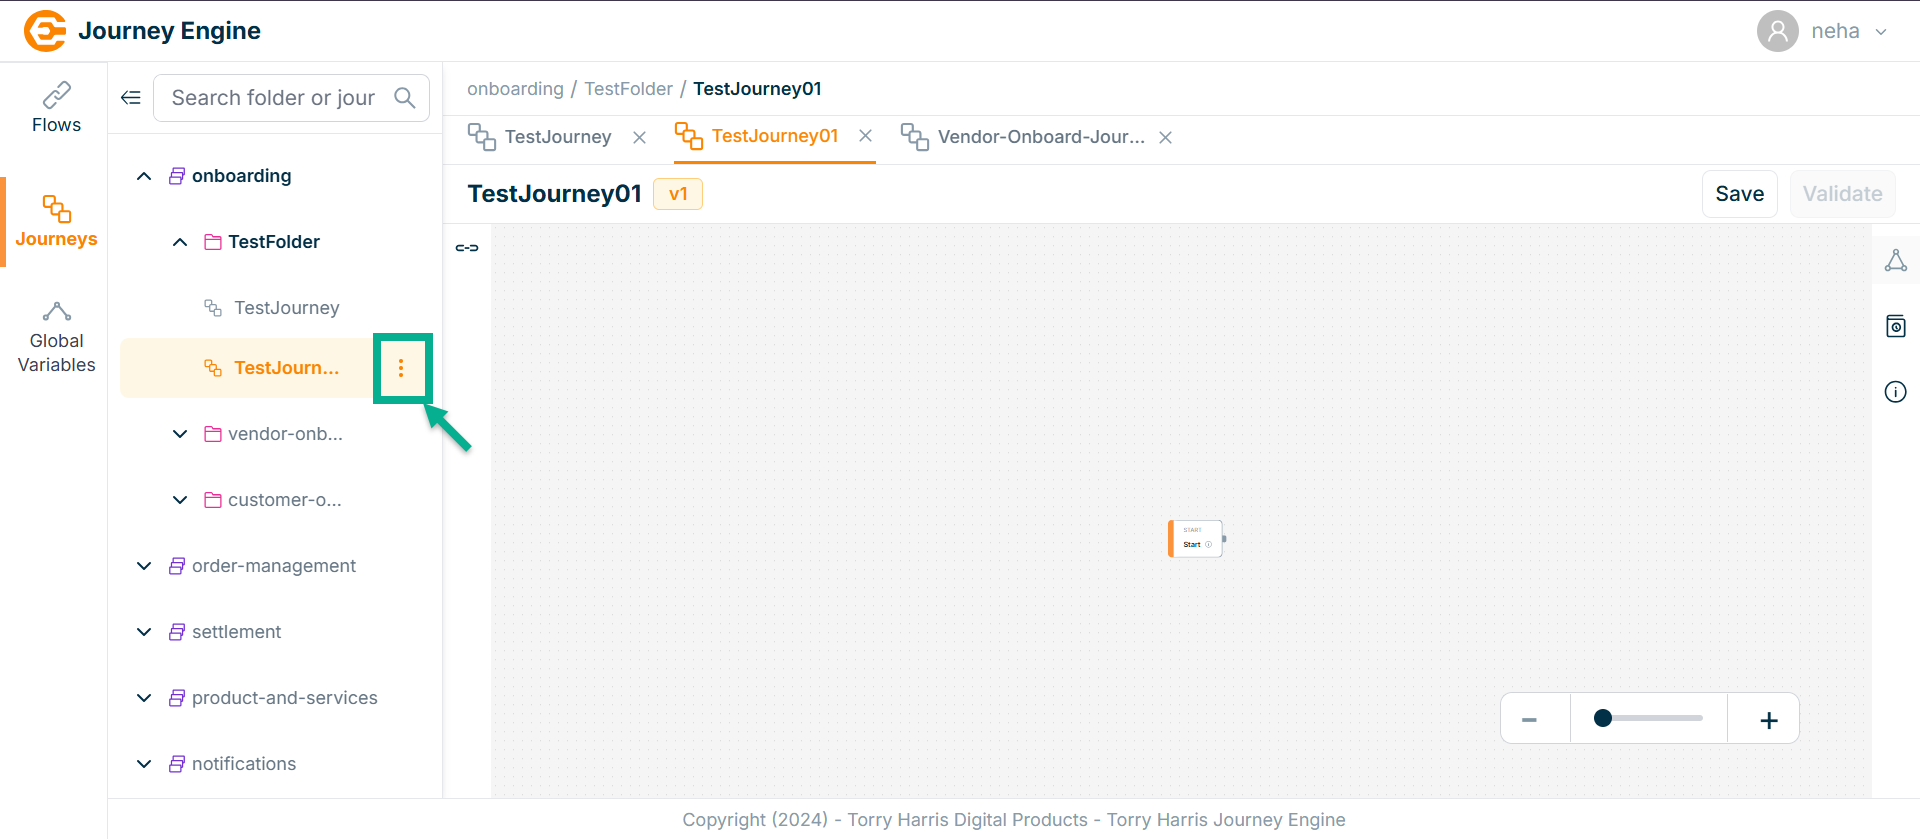
- Click on Delete icon.
The Confirm Delete screen appears as shown below
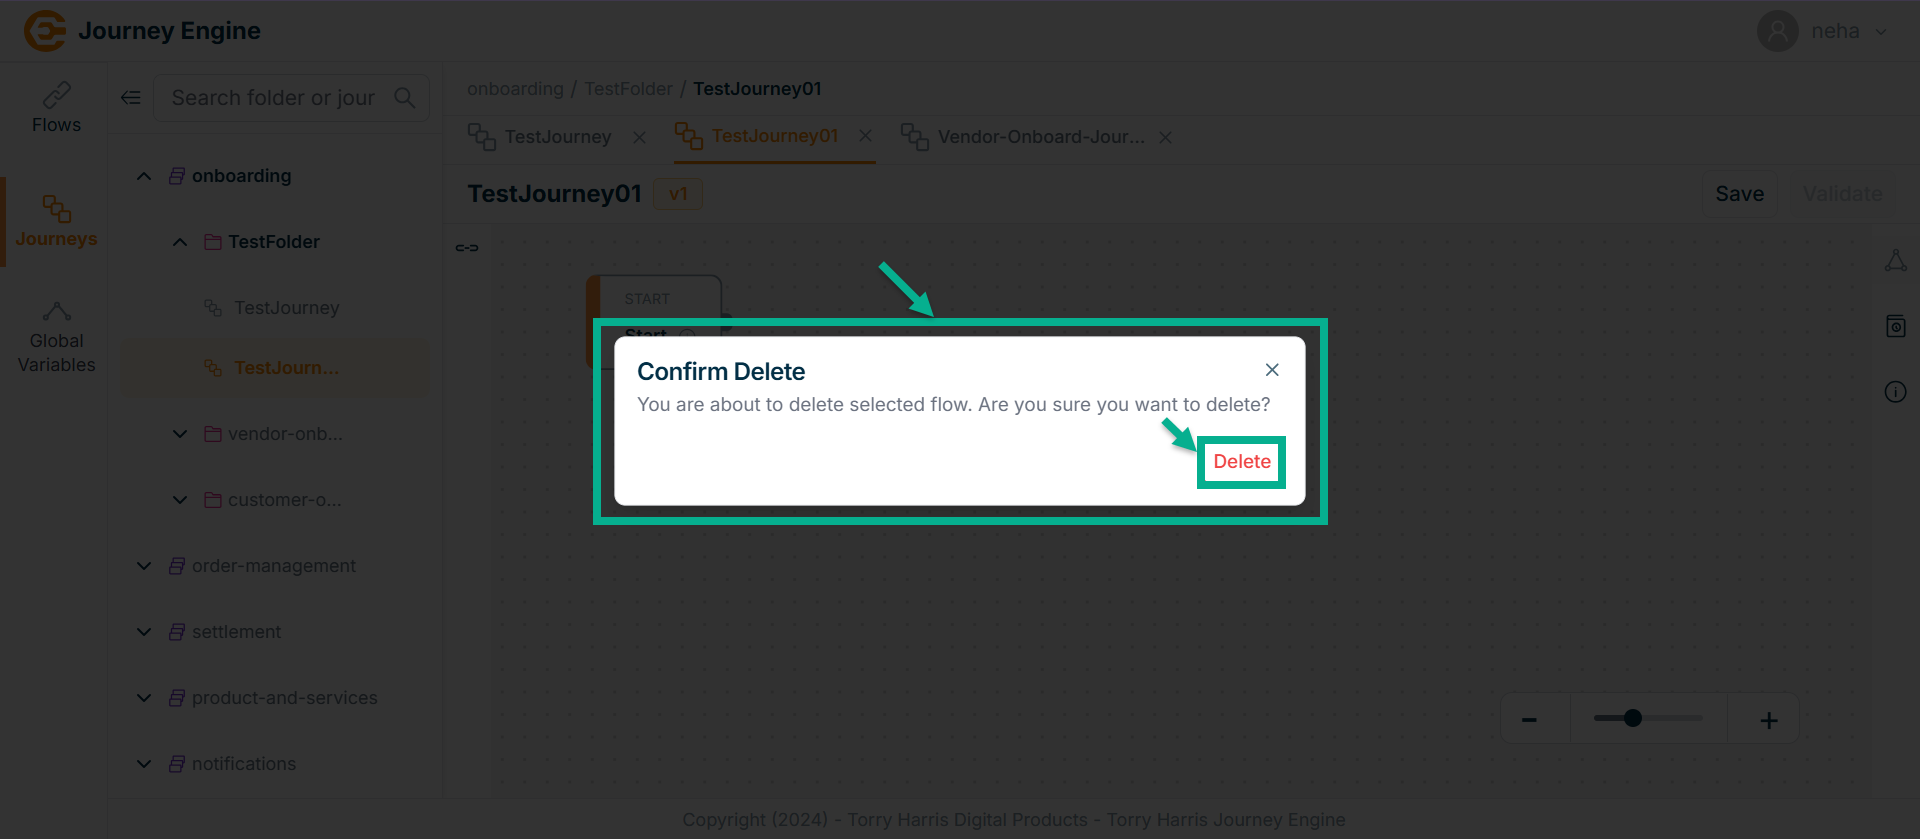
- Click Delete.
On deleting, the confirmation message appears as shown below.